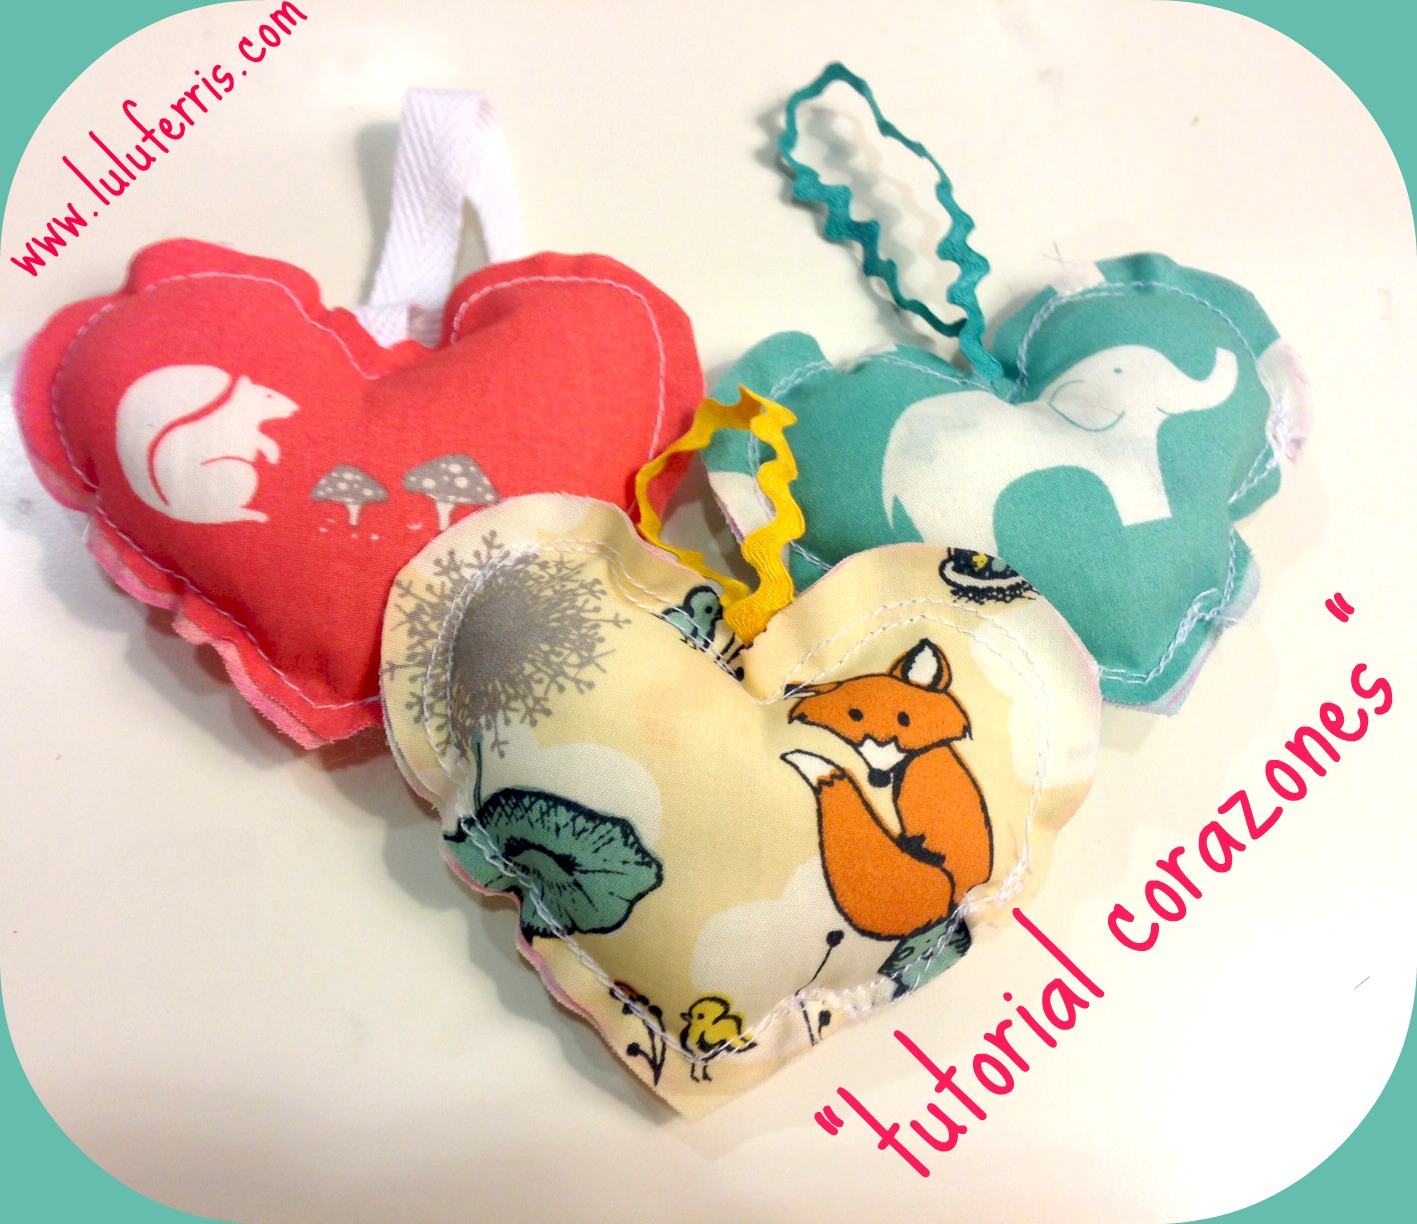
Helloooo!! We have a new tutorial! Oh yeah! Puffy hearts to hang up or use as pins!
I always listen to what you tell me and make mental notes, and this tutorial is one that more than a few of you have asked me how to make… so your wish is granted!
It’s very simple!
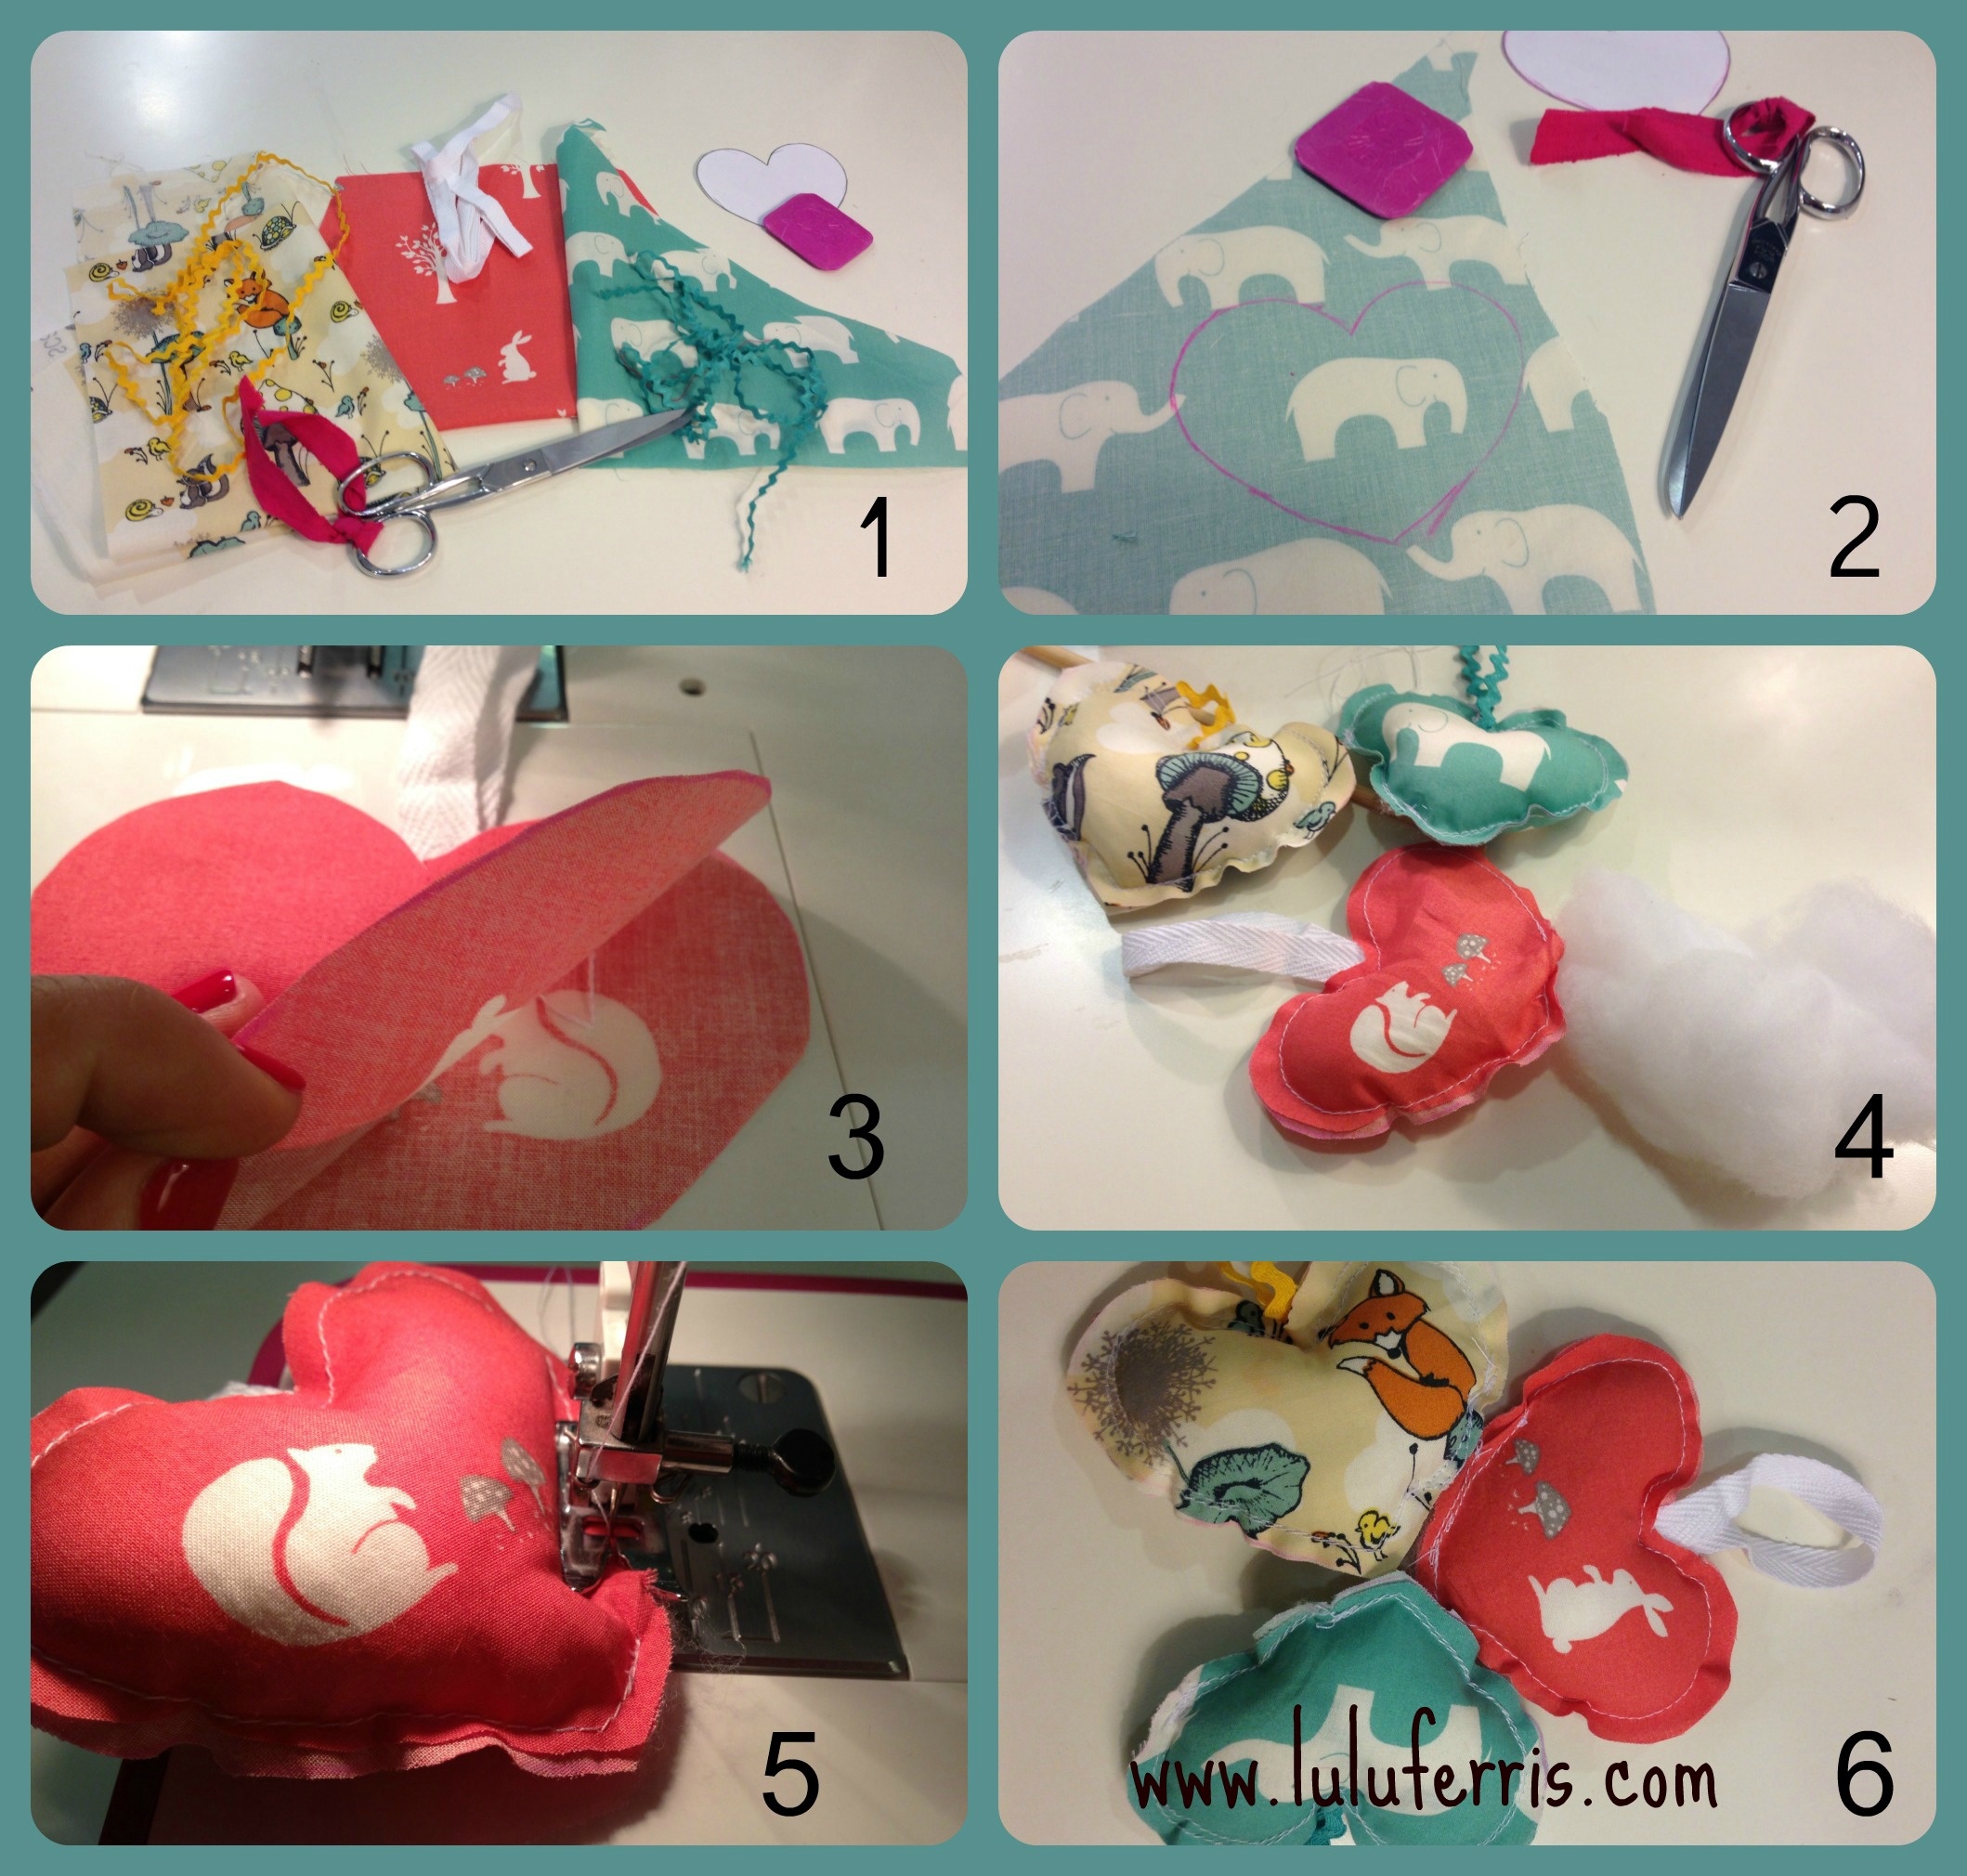
What will you need?
* Fabric—you don’t need much. I used scraps I had lying around here
*Ribbon
*Scissors
*Chalk or marker
*Stuffing
*A heart cut out of paper (you can find lots of them here)
*Sewing machine
The steps!
- If you’re not good at drawing, print a heart on paper and cut it out
- Using chalk or a marker, trace the heart on the wrong side of the fabric
- Cut out the fabric; if you have pinking shears, it will look very pretty
- Place the two heart-shaped fabric pieces together with the right sides facing outward, and place the ribbon at the center of the heart, leaving a little bit inside.
- Starting at the top of the heart, sew half a centimeter or one centimeter from the edge. Don’t worry—it doesn’t have to be perfect. I even sew around it twice with uneven stitching, always leaving 2 finger-widths open on the side so you can add the stuffing. Remember to backstitch at the beginning and end. Backstitching means making a few stitches backward and then continuing forward to secure the stitching.
- Stuff the heart
- Close the opening, always remembering to backstitch at the beginning and end.
I took some photos of the process for you. I missed a few steps along the way, but I also made a video …uuuuh! Considering how embarrassed I get speaking on video… quite an achievement! Heheh