
How to Attach a Neckband Correctly
Learn how to attach a neckband correctly to knit garments. This clear, practical mini class will help you achieve a smooth finish without ripples or unwanted tension.
Video class
This video is for members
Join Lulu Ferris to watch the complete class and sew along at your own pace.
What you’ll make
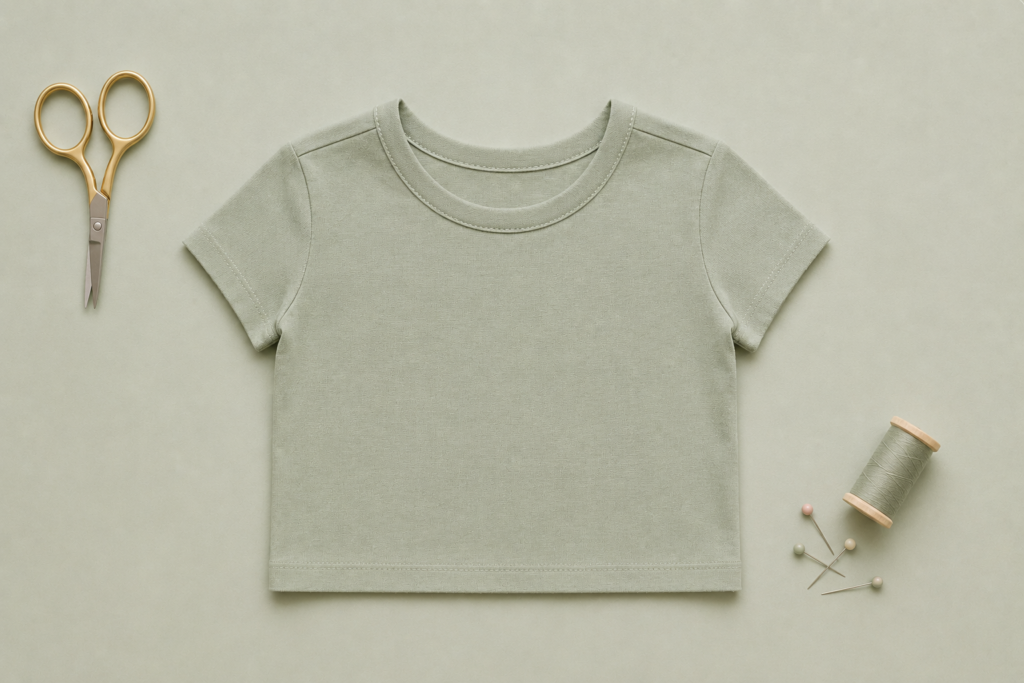
Learn to attach a knit neckband that lies smoothly around a T-shirt, sweatshirt, dress, or another knit garment.
This focused technique class addresses neckbands that gap, ripple, feel too tight, or lack enough stretch to pass comfortably over the head.
What you’ll learn in this class
- Measure a neckline along its cut edge.
- Adjust neckband length for different knit fabrics.
- Include seam allowance in the band measurement.
- Identify the direction of greatest stretch.
- Quarter the neckline and band evenly.
- Check the fit before the final stretch finish.
- Finish the seam with a serger, zigzag, or stretch stitch.
Fabric considerations
The band must stretch across its width. Rib knit, cuffing, and other elastic knits can work, but differences in stretch and recovery affect the required band length.
The class also explains why fabric with too little stretch may prevent the neckline from passing over the head.
Make it your own
Use the method to calculate a replacement neckband or make the finished band wider. Place its seam at center back or align it with an existing garment seam.
Secure the seam allowance with a zigzag, stretch stitch, or stretch twin needle. Use a straight topstitch only when the neckline does not need to stretch over the head.
Pattern & materials
Patterns are included with membership
Active members can download every available PDF and materials list.