
Cutting Mat + Ironing Board: Make the Most of Your Space
Short on sewing space at home? This two-in-one cutting mat and ironing board is just what you need. Make the most of every inch!
Video class
This video is for members
Join Lulu Ferris to watch the complete class and sew along at your own pace.
What you’ll make
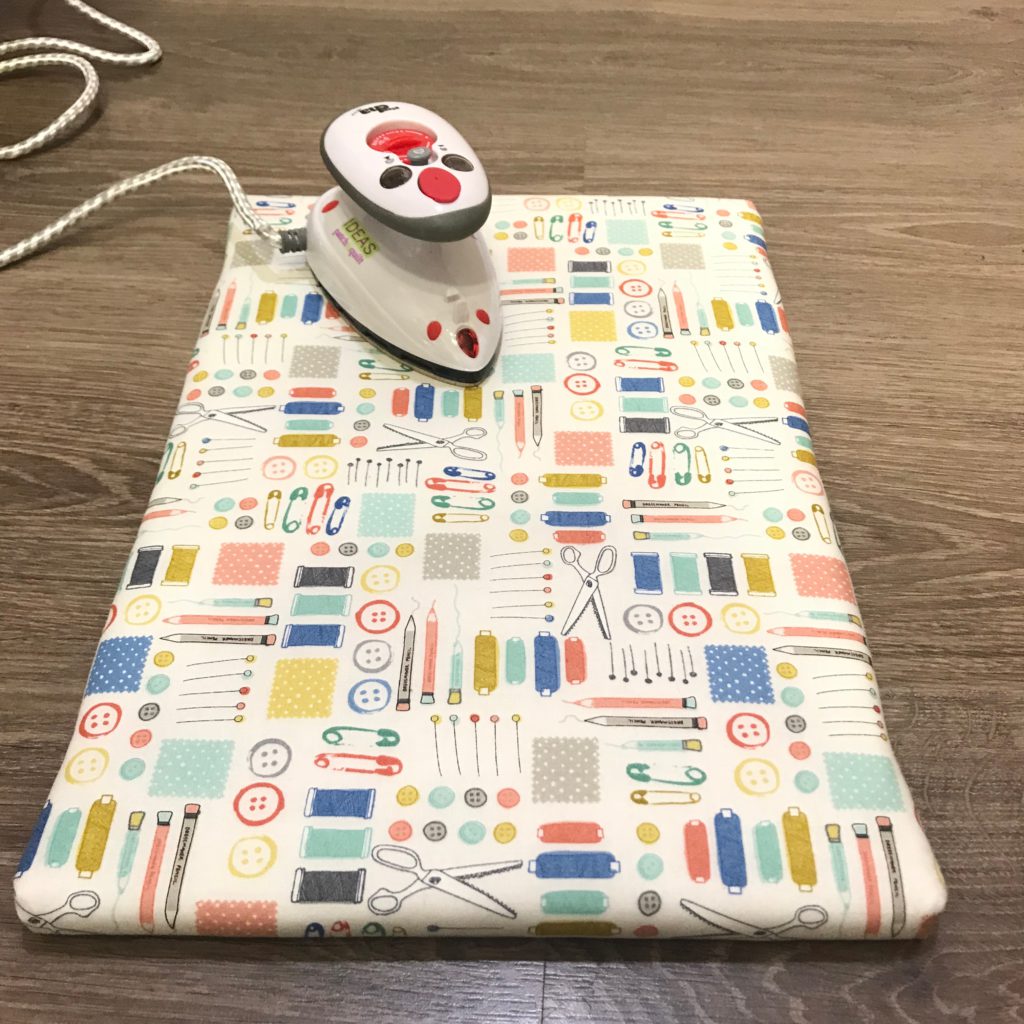
Build a two-in-one sewing surface with a cutting mat on one side and a padded, insulated pressing surface on the other. It keeps cutting and pressing close at hand when sewing space is limited.
Ideal for pressing small pieces with a mini iron, the board can be scaled to fit the cutting mat you already use.
What you’ll learn in this class
- Size the wooden board for your cutting mat.
- Calculate the fabric and insulating layers.
- Layer the padded pressing surface smoothly.
- Keep the fabric taut and finish tidy corners.
- Align and glue the cutting mat in place.
Tools and materials
You’ll need a cutting mat, a wooden board slightly larger than the mat, outer fabric, batting and heat-insulating fabric. Fabric glue or super glue secures the mat.
A heavy-duty staple gun fastens the pressing layers to the wood. Handle it carefully and keep your hands clear while stapling.
Make it your own
Choose an outer fabric that suits your sewing space and scale the board to your preferred cutting mat. The class shows how to allow enough fabric to fold around the board and secure it neatly.
Laura demonstrates how to calculate the dimensions from your own cutting mat and keep the fabric smooth and taut as you assemble the pressing side.
Pattern & materials
Patterns are included with membership
Active members can download every available PDF and materials list.