
How to Make Fabric Appliqués Step by Step
Learn how to make fabric appliqués step by step. This practical mini class includes tips for securing them properly, choosing the right stitch, and achieving a beautiful finish.
Video class
This video is for members
Join Lulu Ferris to watch the complete class and sew along at your own pace.
What you’ll make
Learn to add fabric shapes, motifs, letters, or numbers to garments and other sewn projects. The demonstration shows how a simple heart and letter are prepared, fused, and secured with stitching.
What you’ll learn in this class
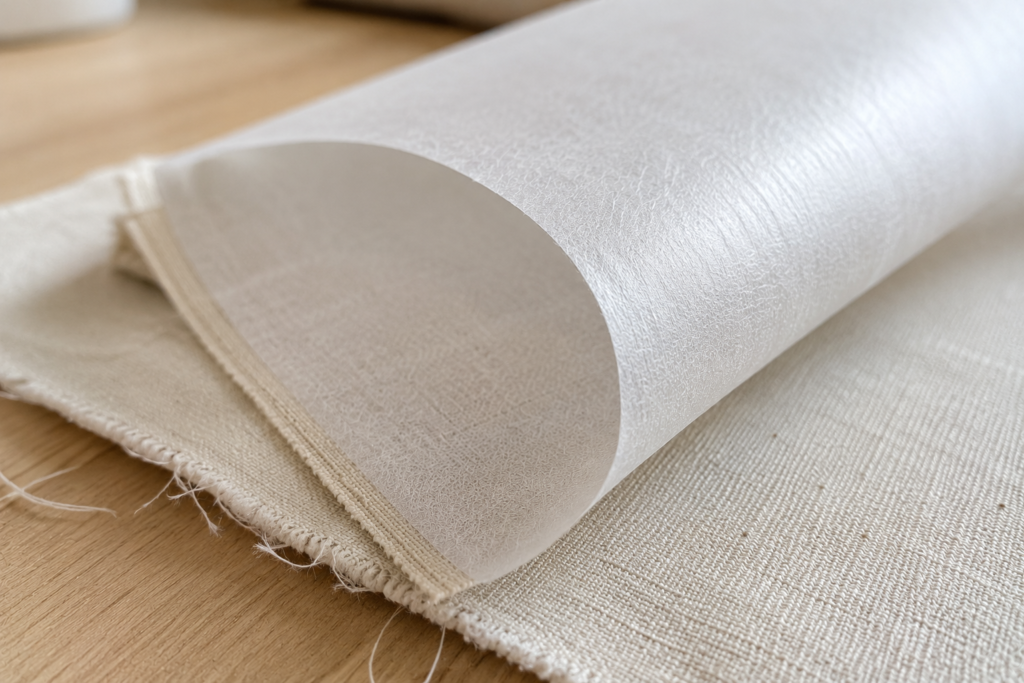
- Trace a design onto paper-backed, double-sided fusible web.
- Reverse letters and numbers so they face correctly when finished.
- Fuse the web to the wrong side of the appliqué fabric.
- Cut a clean shape and position it on the final project.
- Choose straight, zigzag, or free-motion stitching for the edge.
- Stitch appliqués on items that will be washed regularly.
Materials and tools
You’ll need appliqué fabric, paper-backed double-sided fusible web, paper scissors, fabric scissors, an iron, and thread. Follow the fusible-web manufacturer’s pressing instructions.
Make it your own
Apply the method to T-shirts, backpacks, cushions, bibs, or another fabric project. A zigzag helps contain a fraying edge, while free-motion stitching can add drawn details around the motif.
Pattern & materials
Patterns are included with membership
Active members can download every available PDF and materials list.