
How to Change Your Sewing Machine Needle
Learn how to change your sewing machine needle step by step. This practical mini class will help you avoid mistakes and keep your sewing on track.
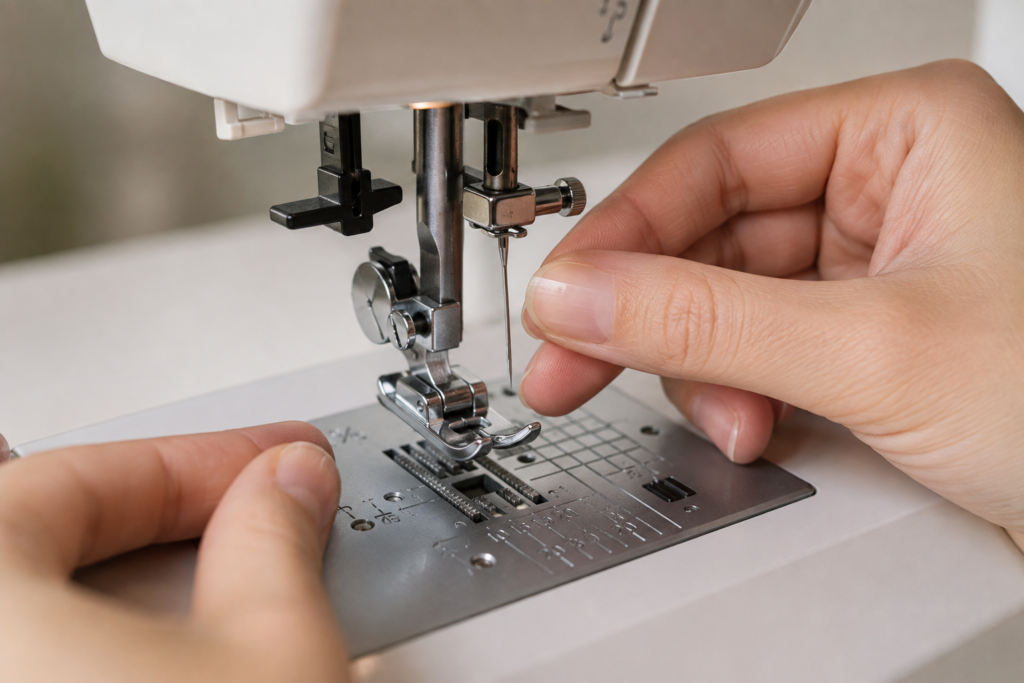
Video class
This video is for members
Join Lulu Ferris to watch the complete class and sew along at your own pace.
What you’ll make
Get your sewing machine ready to stitch again by removing its current needle and installing a replacement correctly.
This beginner mini class focuses on a small but essential machine-care task that can feel uncertain the first time you try it.
You’ll work with the needle-clamp screw and learn how the shape of the needle shank helps you place the new needle in the correct direction.
What you’ll learn in this class
- Recognize when it may be time to change the needle.
- Loosen the needle-clamp screw with the machine tool or a screwdriver.
- Remove the current needle without letting it fall into the machine.
- Identify the flat back and rounded front of the needle shank.
- Position the flat side toward the back.
- Push the replacement needle fully upward before tightening the clamp.
- Check the placement before returning to your sewing.
You’ll also pick up practical tips for remembering which way the needle faces and handling the change with more confidence.
Keep this quick lesson handy whenever your needle is no longer performing at its best or you need a refresher on correct installation.
Pattern & materials
Patterns are included with membership
Active members can download every available PDF and materials list.