
Bias Tape: How to Cut, Press, and Sew It
Learn how to cut, press, and sew bias tape step by step in this sewing tutorial. Discover how to make continuous bias strips, press them with or without a bias tape maker, and apply bias tape in different ways for a professional finish. Available to Lulu Ferris members.
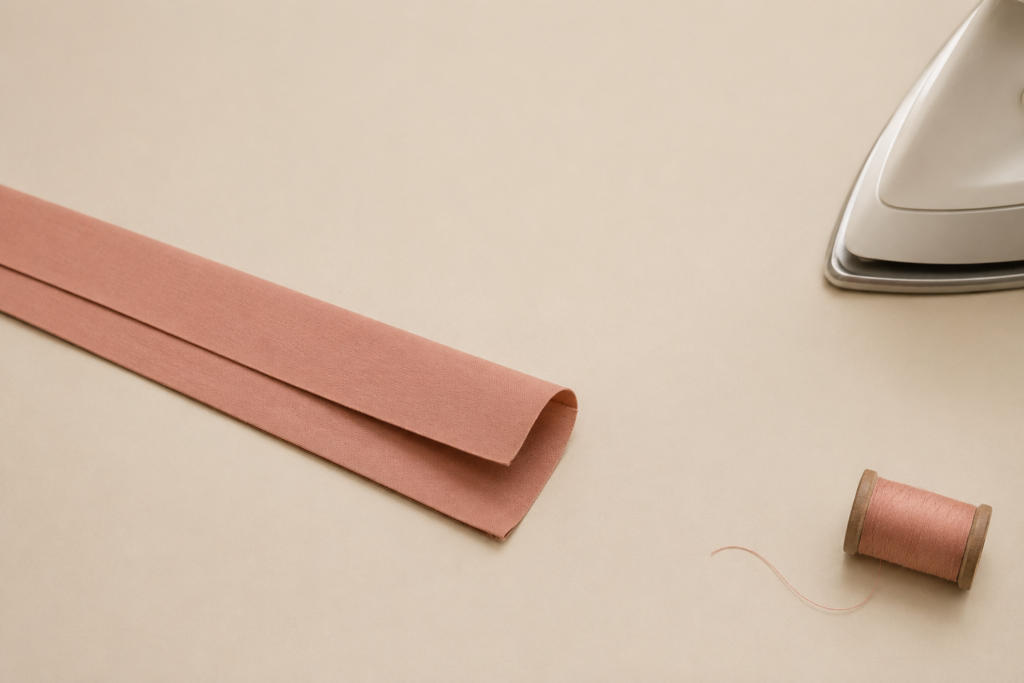
Video class
This video is for members
Join Lulu Ferris to watch the complete class and sew along at your own pace.
What you’ll make
Make fabric bias tape from scratch and use it to finish raw edges. The class follows the process from locating the bias grain to cutting, pressing, and sewing the prepared tape.
The first video focuses on making the tape. The second explores different ways to attach it, guide it around curves, and finish or join the ends.
What you’ll learn in these classes
- Locate the fabric grain and mark an accurate 45-degree bias.
- Cut bias strips or make continuous bias tape from a fabric square.
- Press even folds by hand or with a bias tape maker.
- Apply bias tape in one step or two.
- Guide the tape around curves and catch both edges securely.
- Join the ends with a straight or diagonal seam.
- Create folded and enclosed end finishes.
Make it your own
Choose the tape width to suit the project and your preferred finished look. Match the thread for a subtle result, or add contrast with zigzag or decorative stitching.
Select a quick overlapped finish or a neater folded or seamed join according to where the ends will appear.
Pattern & materials
Patterns are included with membership
Active members can download every available PDF and materials list.