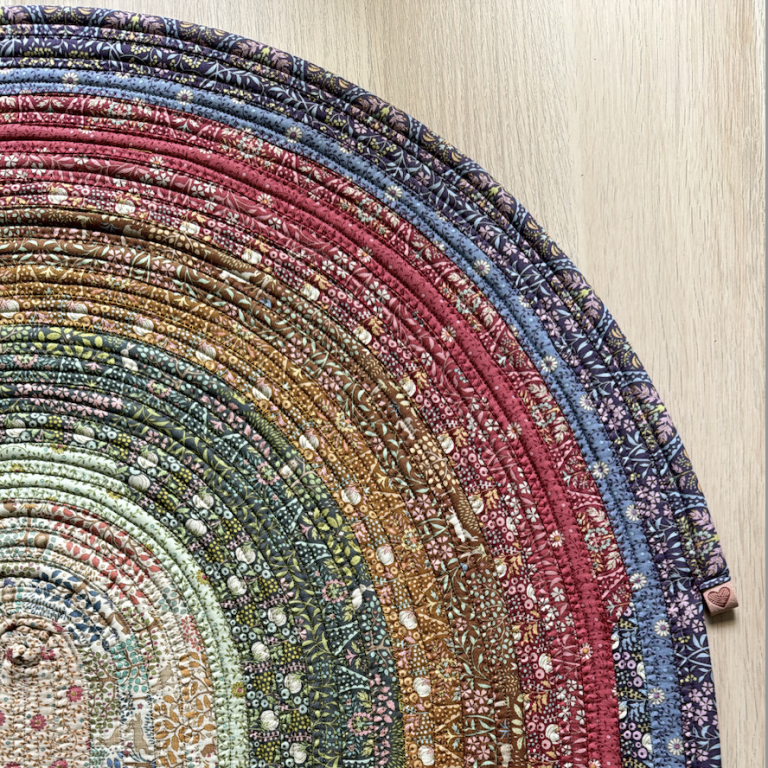
Jelly Rug
Learn how to sew a Jelly Rug with our step-by-step tutorial, using either a jelly roll or strips cut as shown. Discover how to make rugs, mats, and more, and choose the option that best suits your needs. Start creating today and add a special touch to your home!
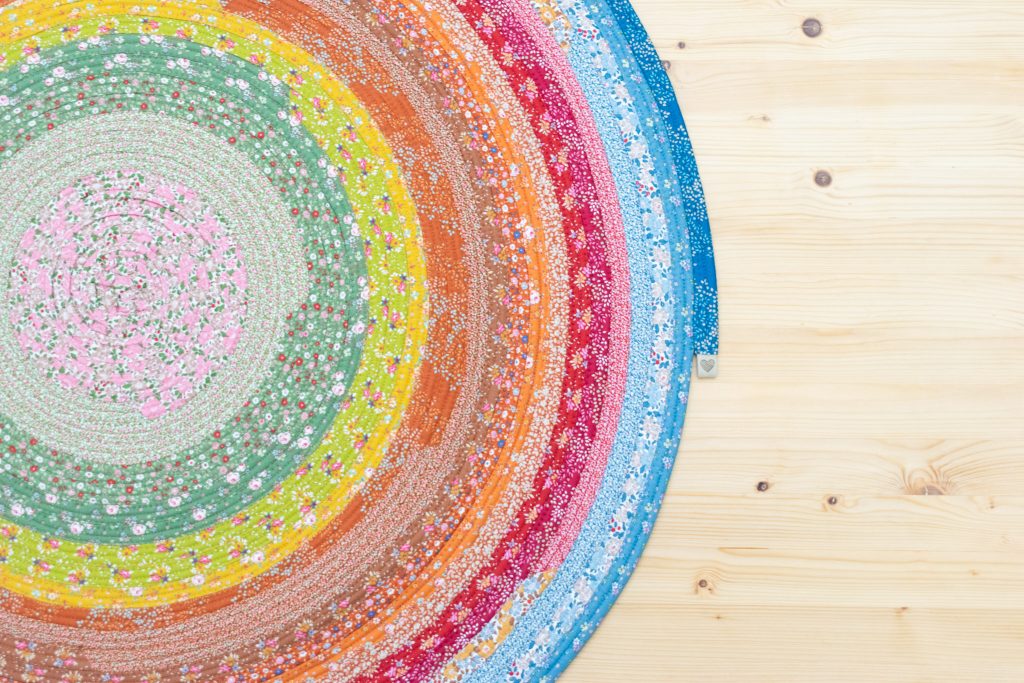
Project preview
This video is for members
Join Lulu Ferris to watch the complete class and sew along at your own pace.
What you’ll make
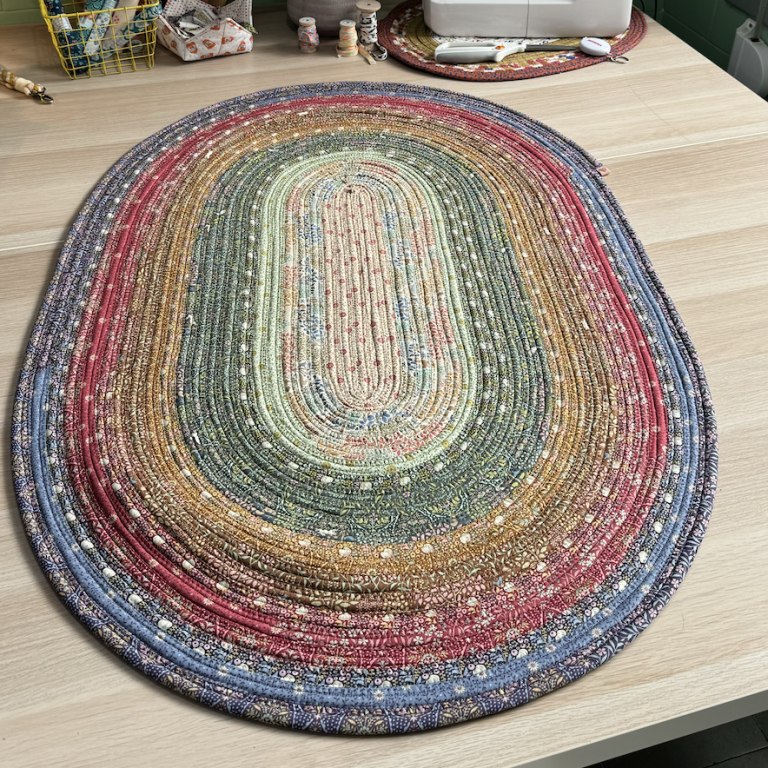
Turn fabric strips and batting into a padded Jelly Rug in a round or oval shape.
Use the same technique to make a rug, mat, or placemat.
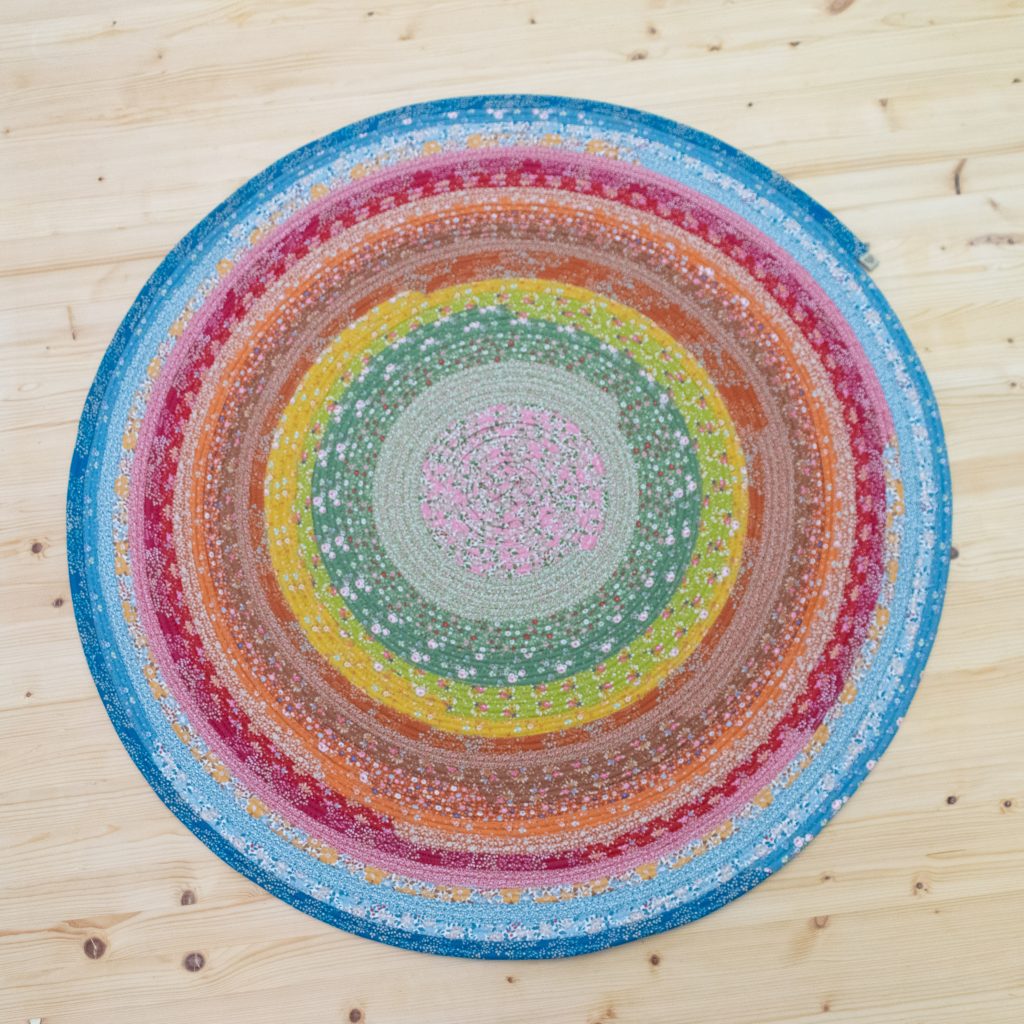
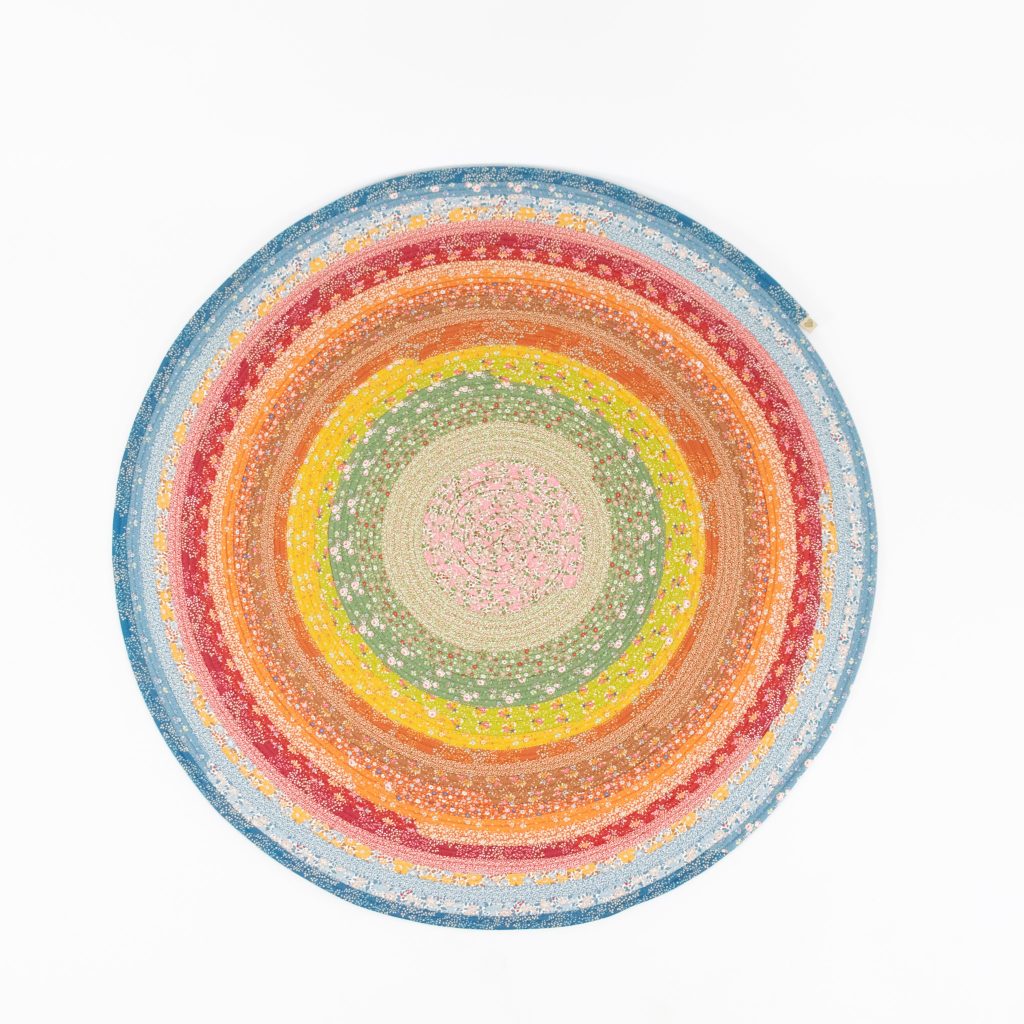
The colorful sample uses a Tilda Creating Memories jelly roll, but you can also cut strips from coordinating yardage or leftover fabric.
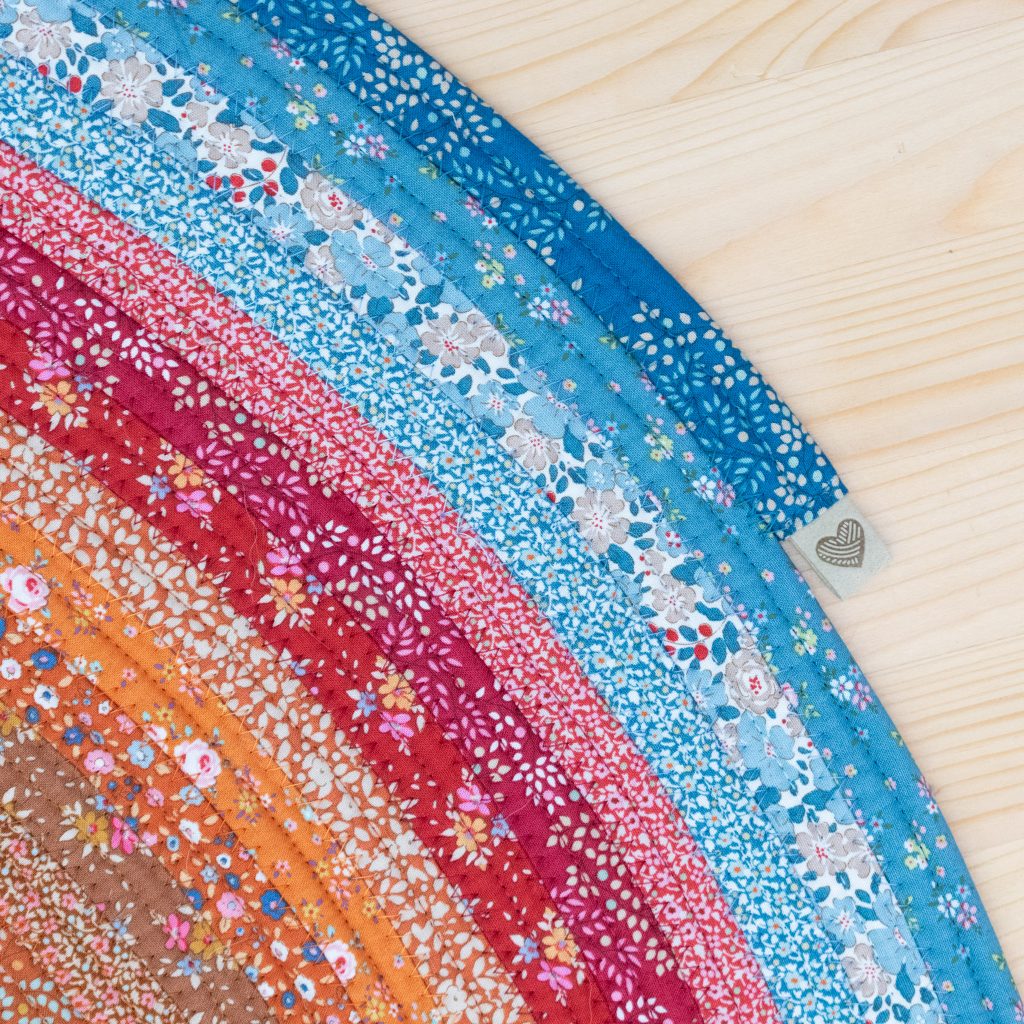
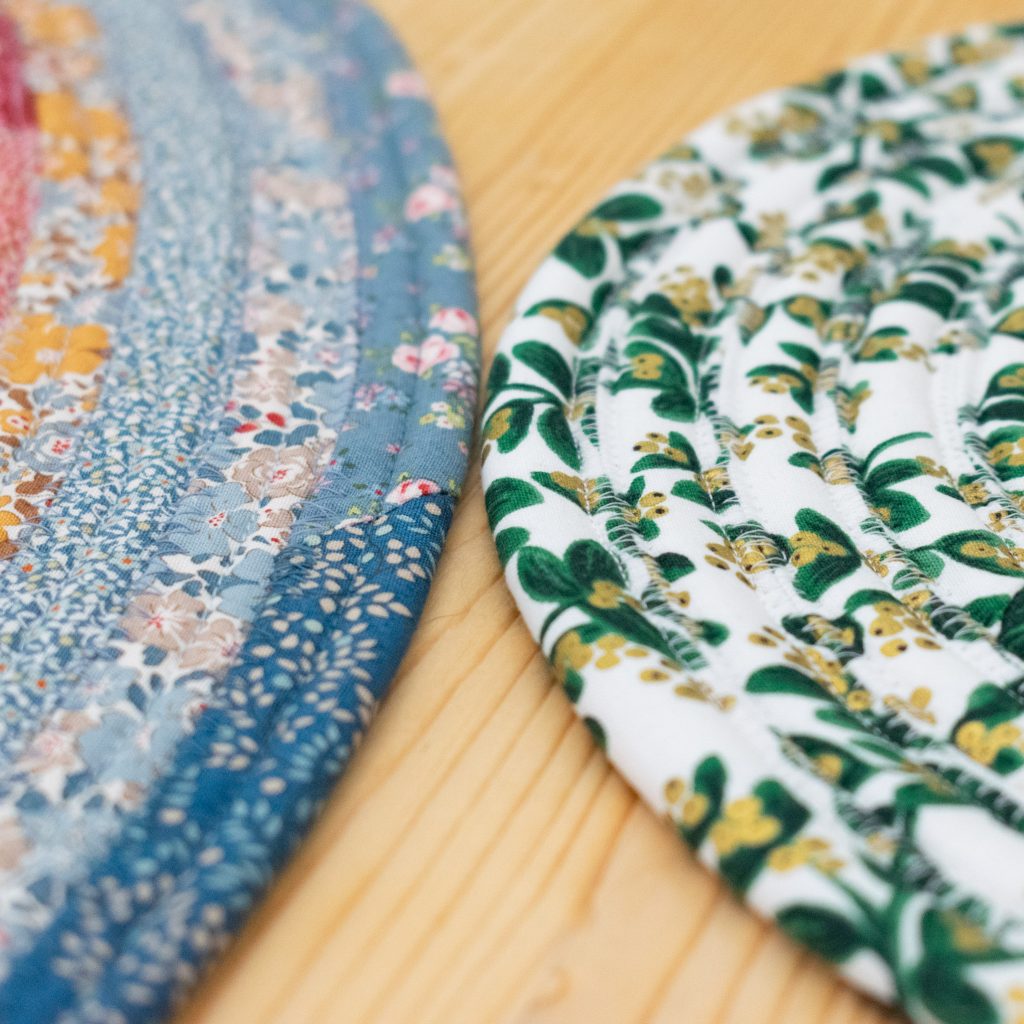
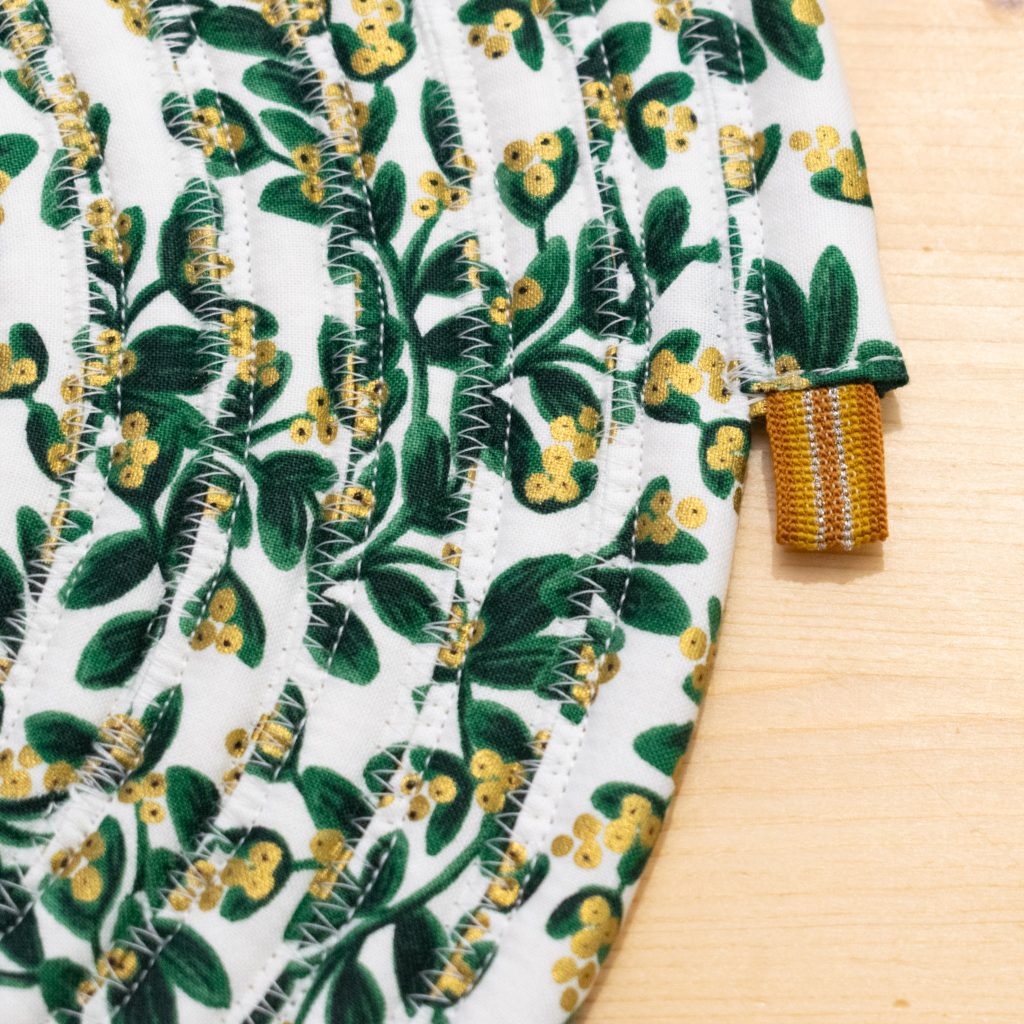
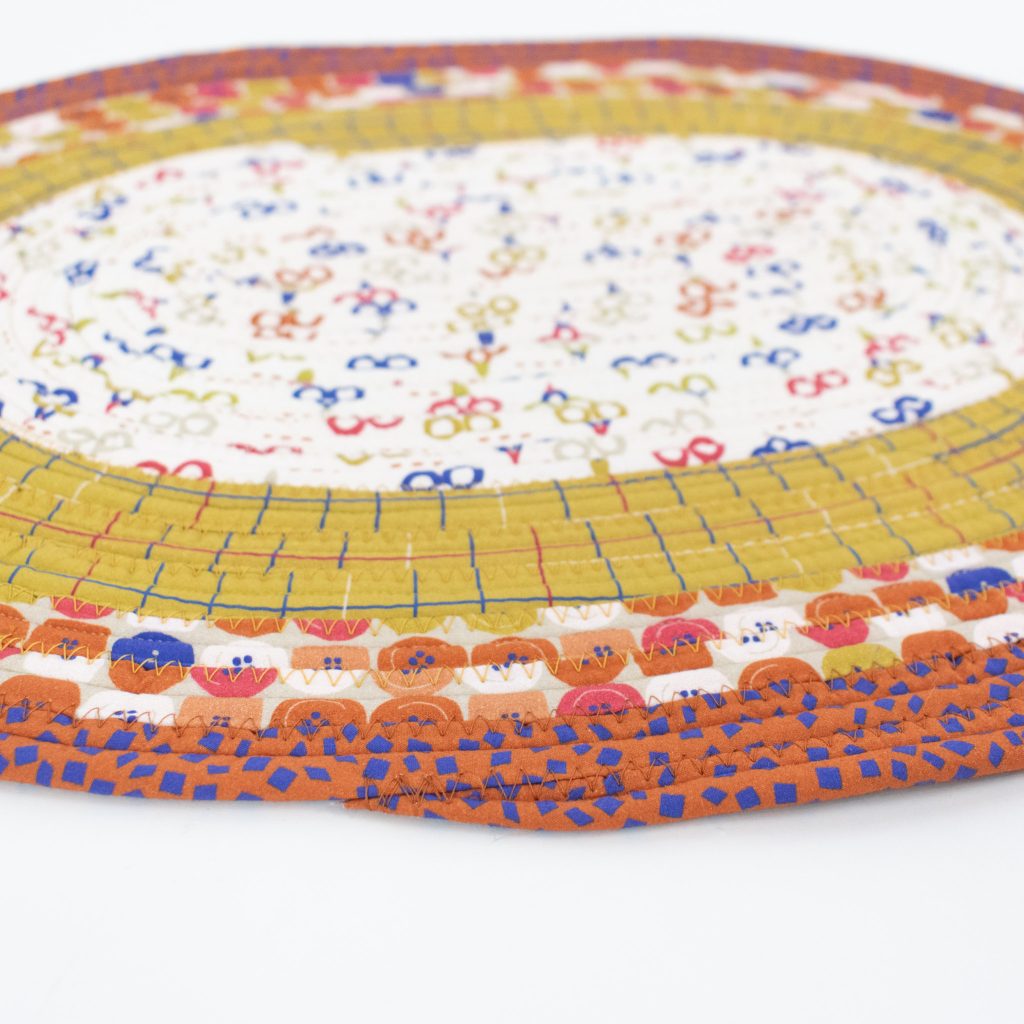
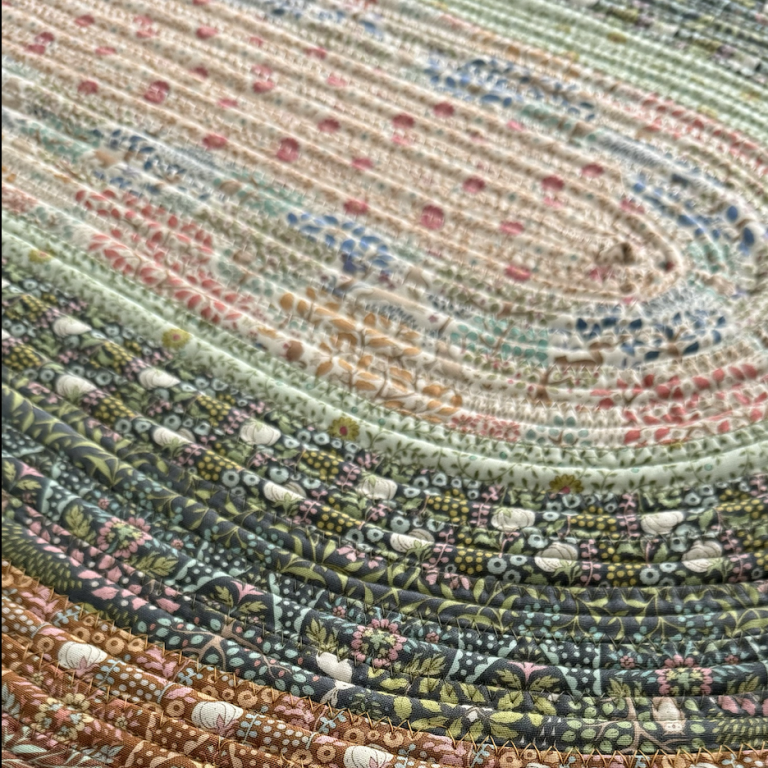
A continuous padded strip forms the surface, joined with visible zigzag stitching as the shape grows.
What you’ll learn in these classes
- Use a precut jelly roll or cut your own strips.
- Join strips diagonally into one continuous length.
- Wrap the strips around batting and manage the padded strip.
- Compare centered and edge stitching.
- Form a round center or an elongated oval start.
- Join the coils with zigzag stitching while keeping them flat.
- Choose a straight or tapered finish.
Materials and machine setup
Use a jelly roll or fabric strips with batting cut to match. Scraps can be combined into a varied sequence.
The demonstrations compare jeans, Microtex, and topstitch needles for sewing through the thick layers.
Test the needle, thread, and zigzag stitch on a layered sample before beginning.
A walking foot and a large, level work surface can help feed and support the layers.
Clips, an iron, and a basket or cardboard tube can make the long strip easier to control.
Make it your own
Arrange the prints in your preferred order, place darker colors around the outside, or change thread colors with the fabrics.
Centered straight stitching creates a more defined line and added texture.
Stitching closer to the edge leaves a softer, fuller center and makes that seam less visible.
Make a small sample to compare the textures and see how your machine handles the layers.
Example sizes
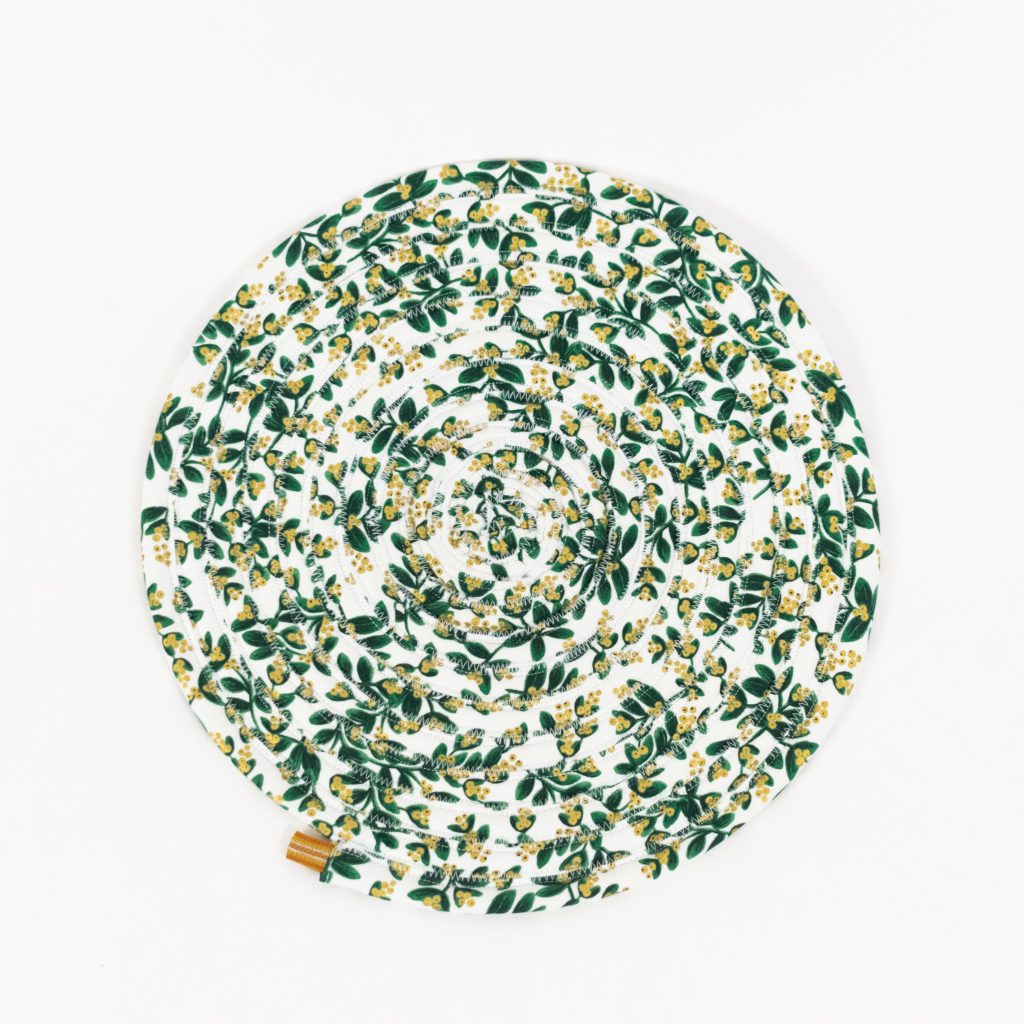
A small round sample measures approximately 34 cm across.
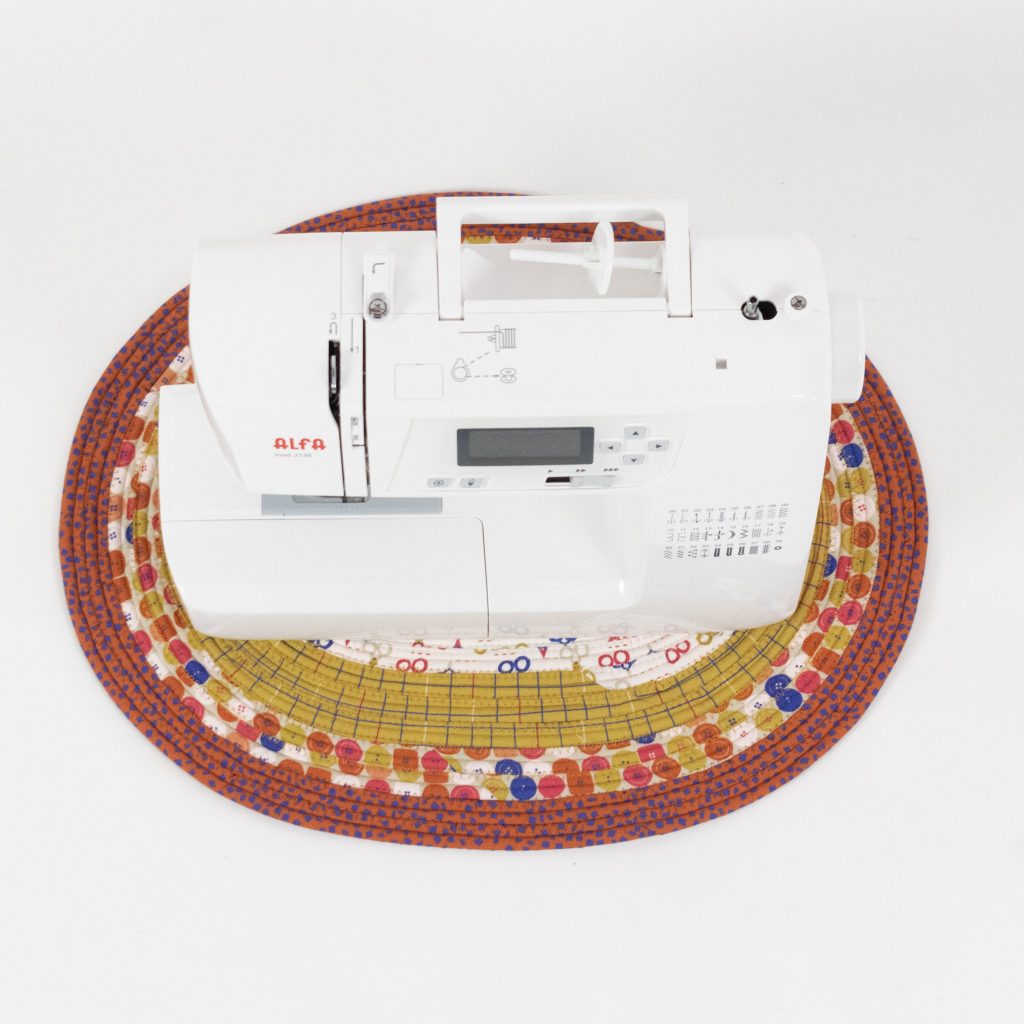
A smaller oval sample measures approximately 54 cm at its longest point.
The large round rug made from a 40-strip jelly roll measures a little over 90 cm across.
Another oval uses a full 40-strip roll and a starting fold of about 40 cm. It finishes approximately 74 cm wide.
The videos combine the complete project with close views of stitching and finishing choices, a full-roll oval example, and an alternate strip-handling setup.
Pattern & materials
Patterns are included with membership
Active members can download every available PDF and materials list.
Project gallery