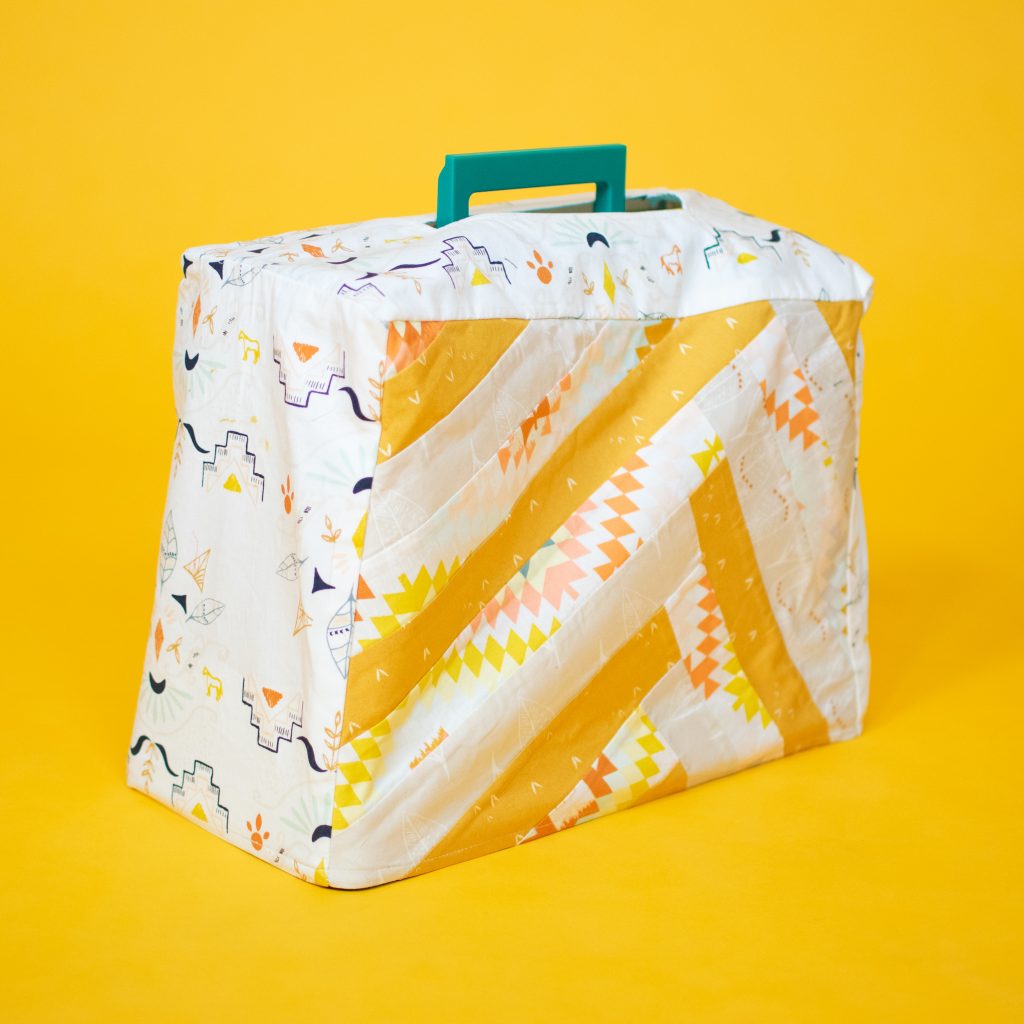
Sewing Machine Cover Using the Log Cabin Technique
This tutorial is doubly useful: you’ll learn how to make a sewing machine cover while discovering a technique you’re going to love—the log cabin technique.
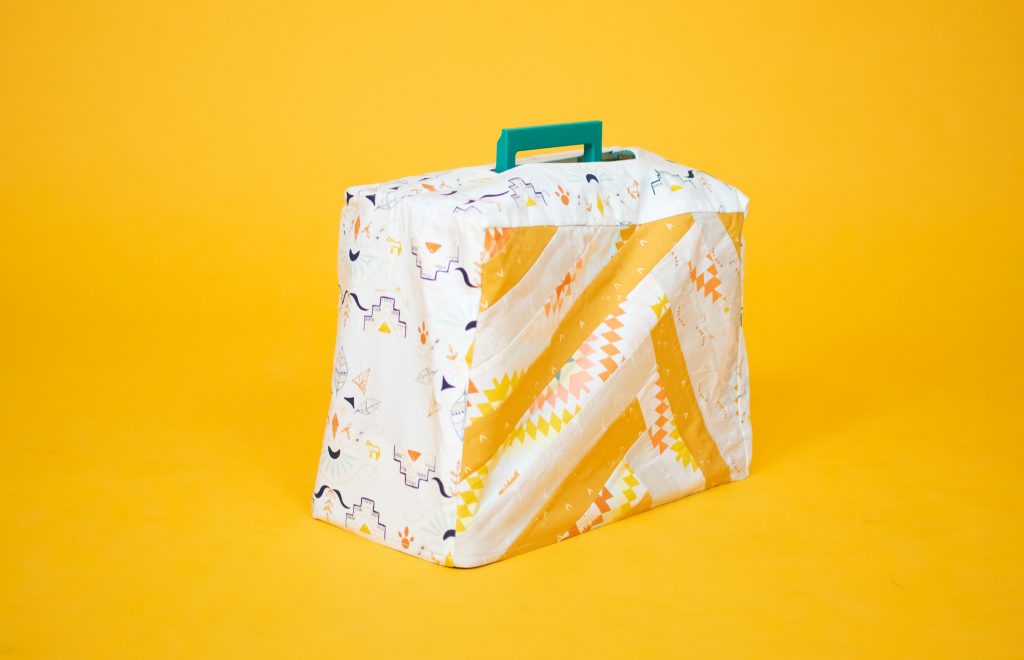
Project preview
This video is for members
Join Lulu Ferris to watch the complete class and sew along at your own pace.
What you’ll make
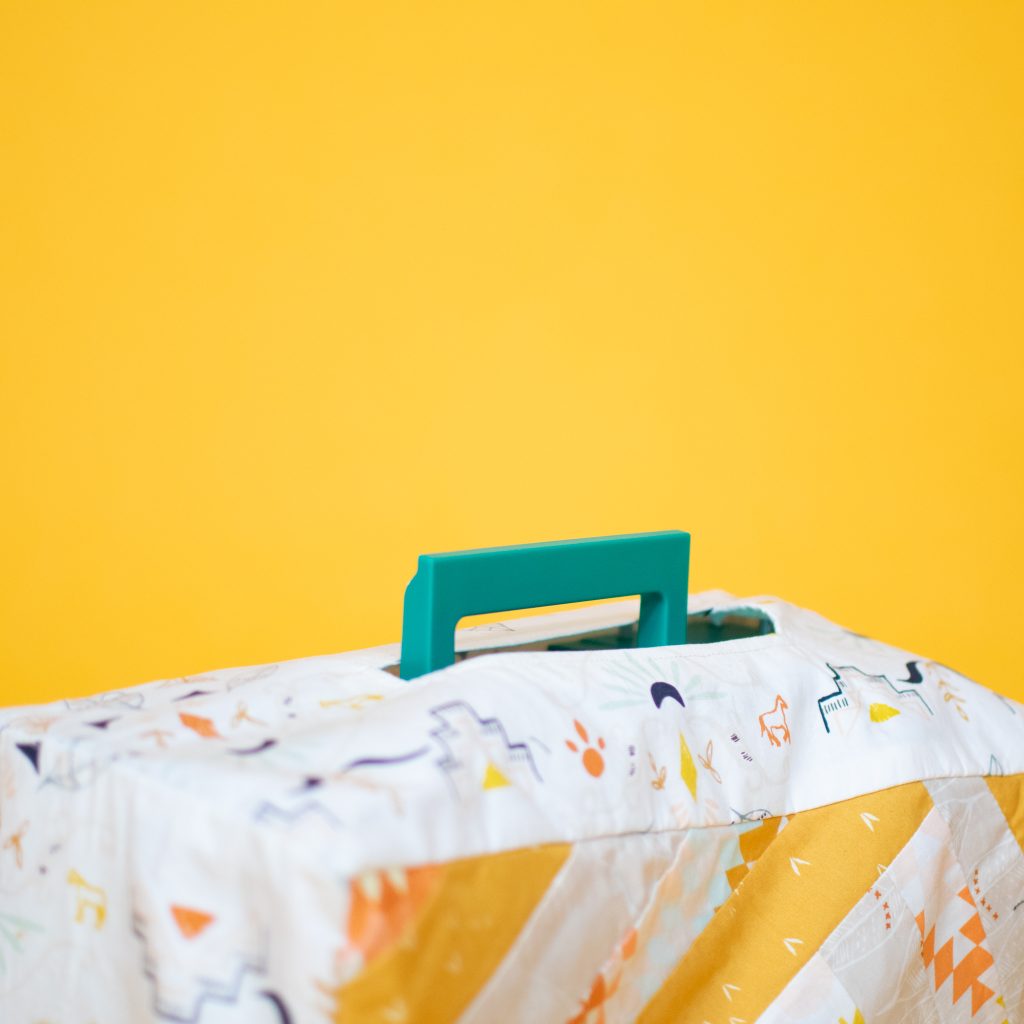
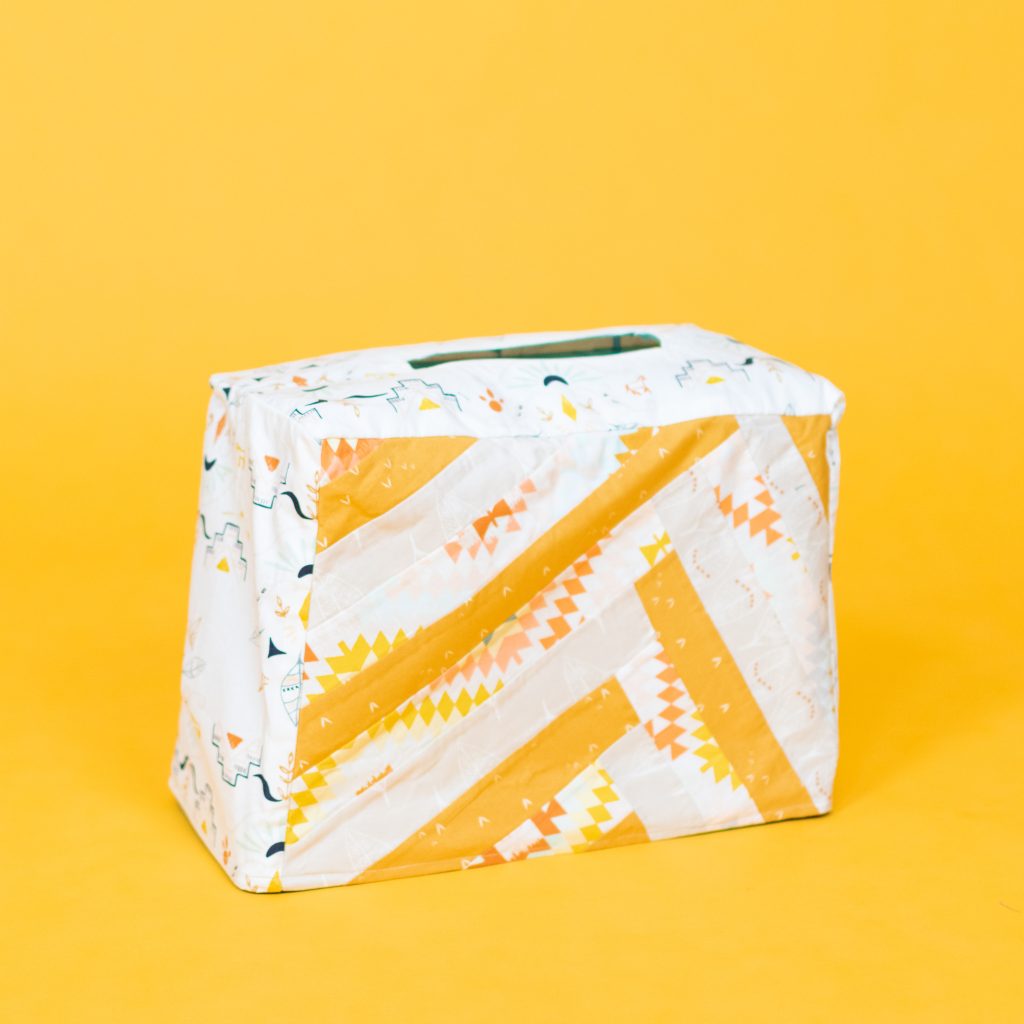
Create a sewing machine cover with log cabin patchwork on the front and back. Side and top panels give it shape, and a finished opening keeps the machine’s built-in handle accessible.
The cover is sized from your machine rather than a fixed pattern. Fusible interfacing gives the unlined sample structure.
What you’ll learn in this class
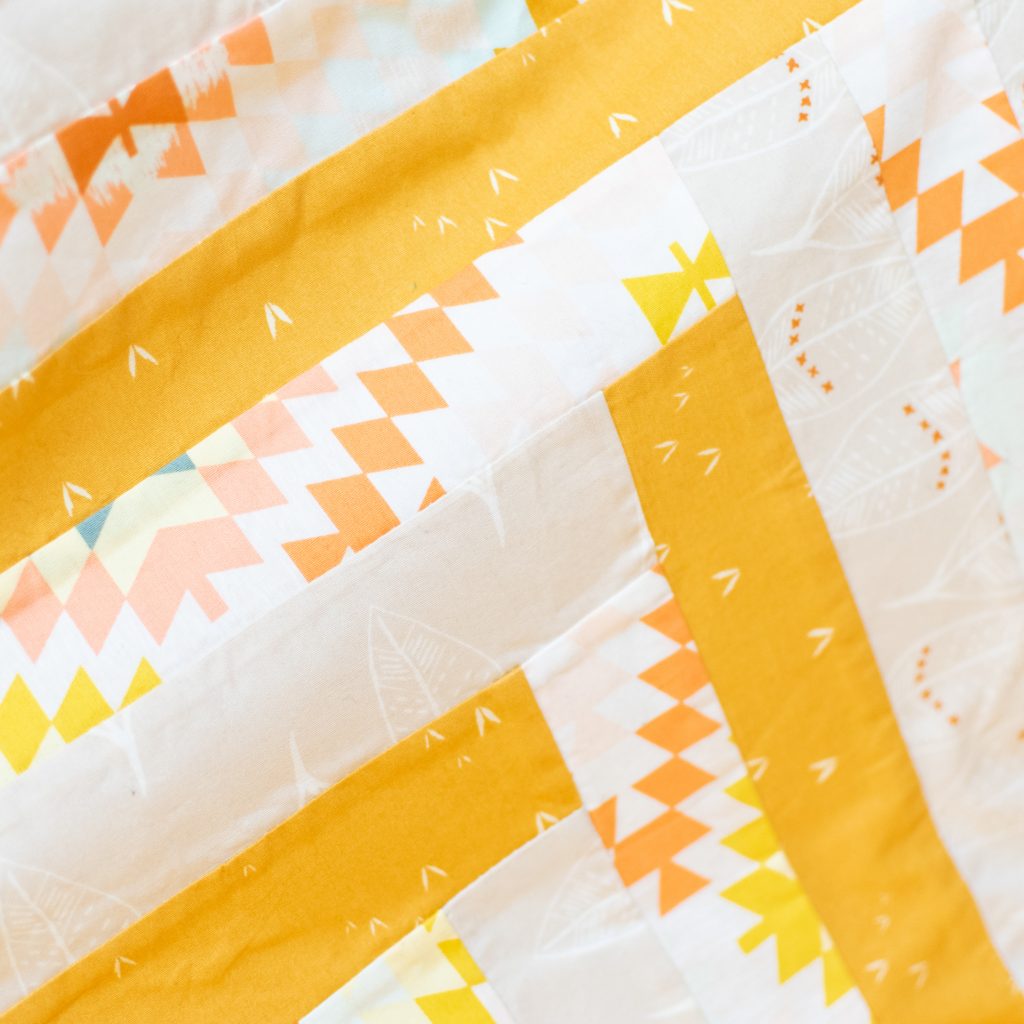
- Build triangular log cabin panels from fabric strips.
- Sew consistently, press each strip, and trim with the previous seam as a guide.
- Shape the patchwork into rectangular front and back panels.
- Apply fusible interfacing while protecting the iron and ironing surface.
- Join the top, sides, front, and back to form clean corners.
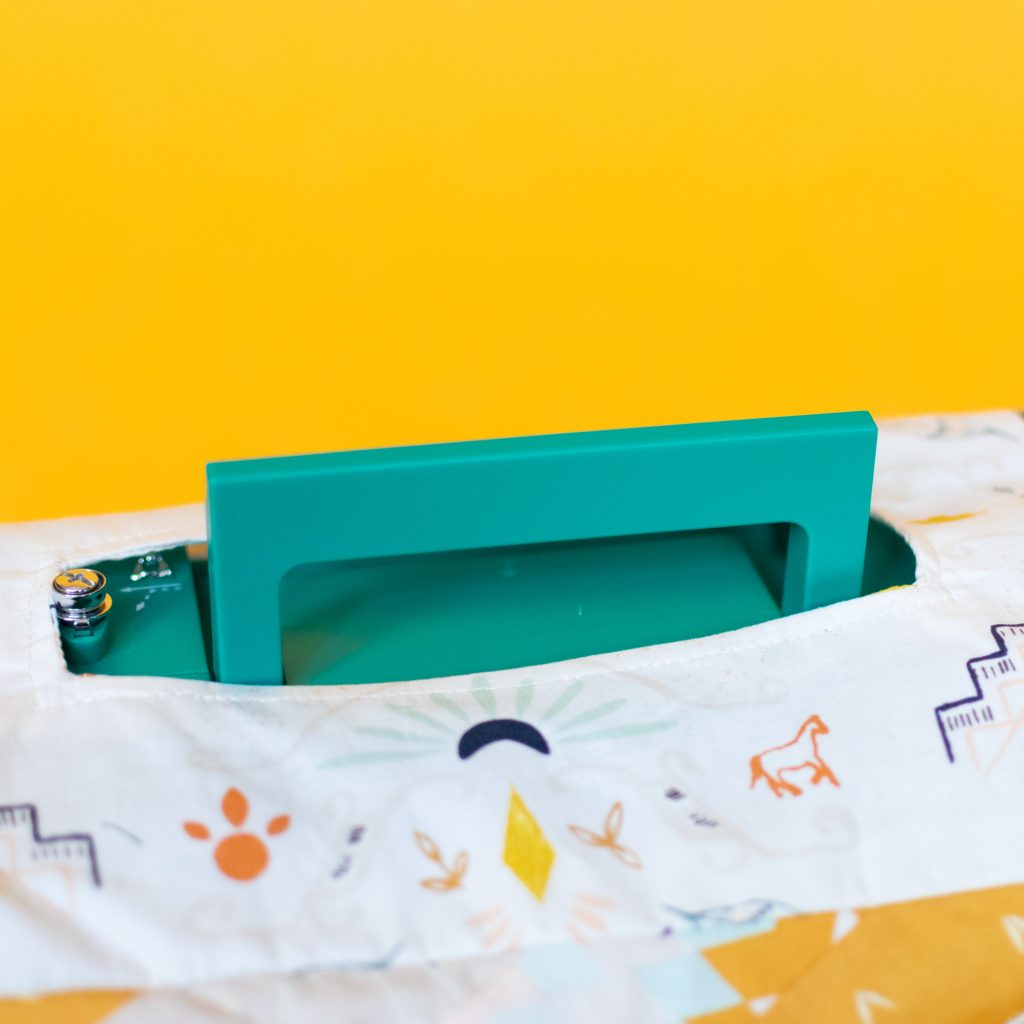
- Create and finish an opening for the machine’s handle.
- Check the fit before adding the final panel and hem the lower edge.
Fabric and structure
The log cabin panels use fabric strips arranged around a starting triangle. Additional fabric forms the sides and top, while fusible interfacing gives the cover body.
The demonstrated cover is unlined. You can add lining and batting for a thicker version, or finish the lower edge with bias binding instead of a turned hem.
Make it your own
- Alternate fabrics to create a chevron effect.
- Start with an equilateral triangle for a centered motif.
- Use a different triangle shape for an off-center design.
- Vary the colors and prints across the strips.
- Add lining and batting for extra structure.
Measuring your machine
Measure your machine, including any projecting parts, and allow 2.5 cm on each side. Test the cover before adding the final panel so you can refine the fit.
The sample front and back panels are 51 × 34.5 cm. Its side panels are 22 × 34.5 cm, and its top is 51 × 22 cm. These dimensions fit the machine shown, not every model.
Measure and position the handle opening directly from your machine so the built-in handle passes through it cleanly.
Pattern & materials
Patterns are included with membership
Active members can download every available PDF and materials list.
Project gallery