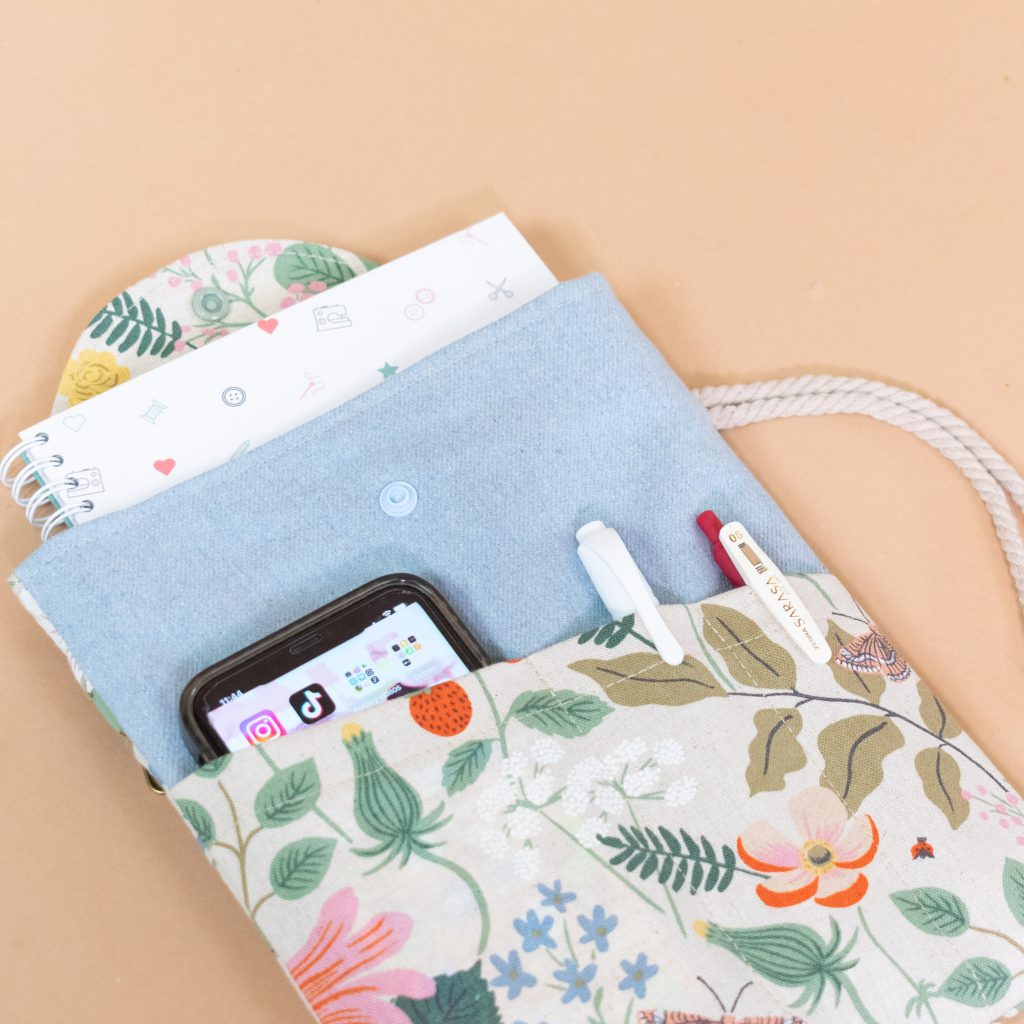
Milo Organizer Cover
Sew the beginner-friendly Milo Organizer Cover. Perfect for A5 notebooks, books, or planners, with practical pockets and a customizable handle. Download the PDF pattern and make your own!
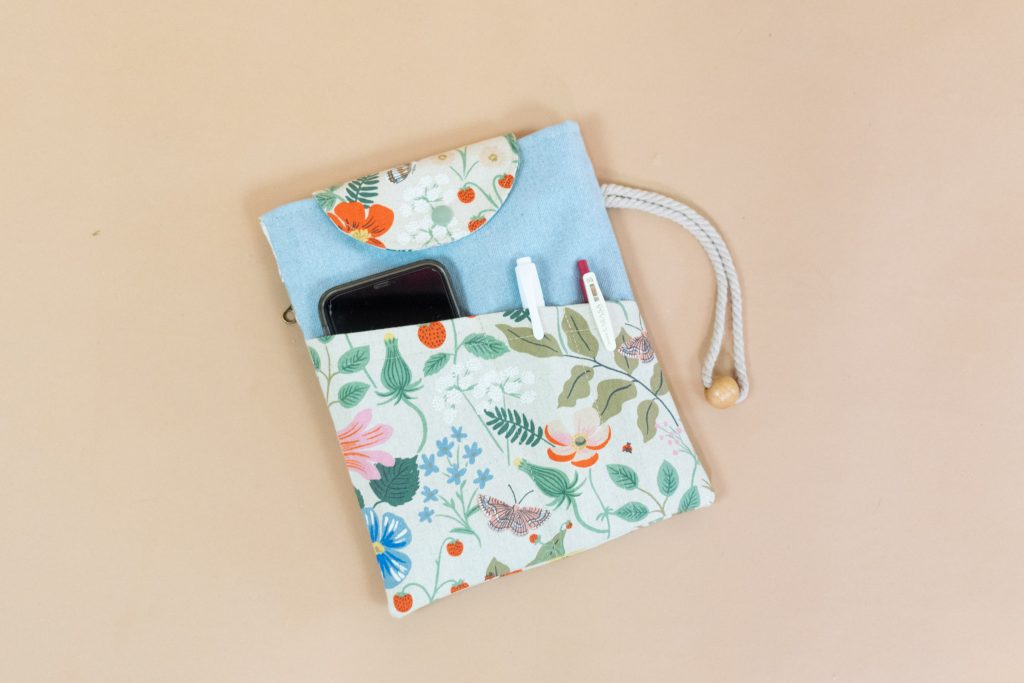
Project preview
This video is for members
Join Lulu Ferris to watch the complete class and sew along at your own pace.
What you’ll make
Sew the Milo Organizer Cover, a compact carrier sized for an A5 planner, notebook, book, tablet or another similarly sized item.
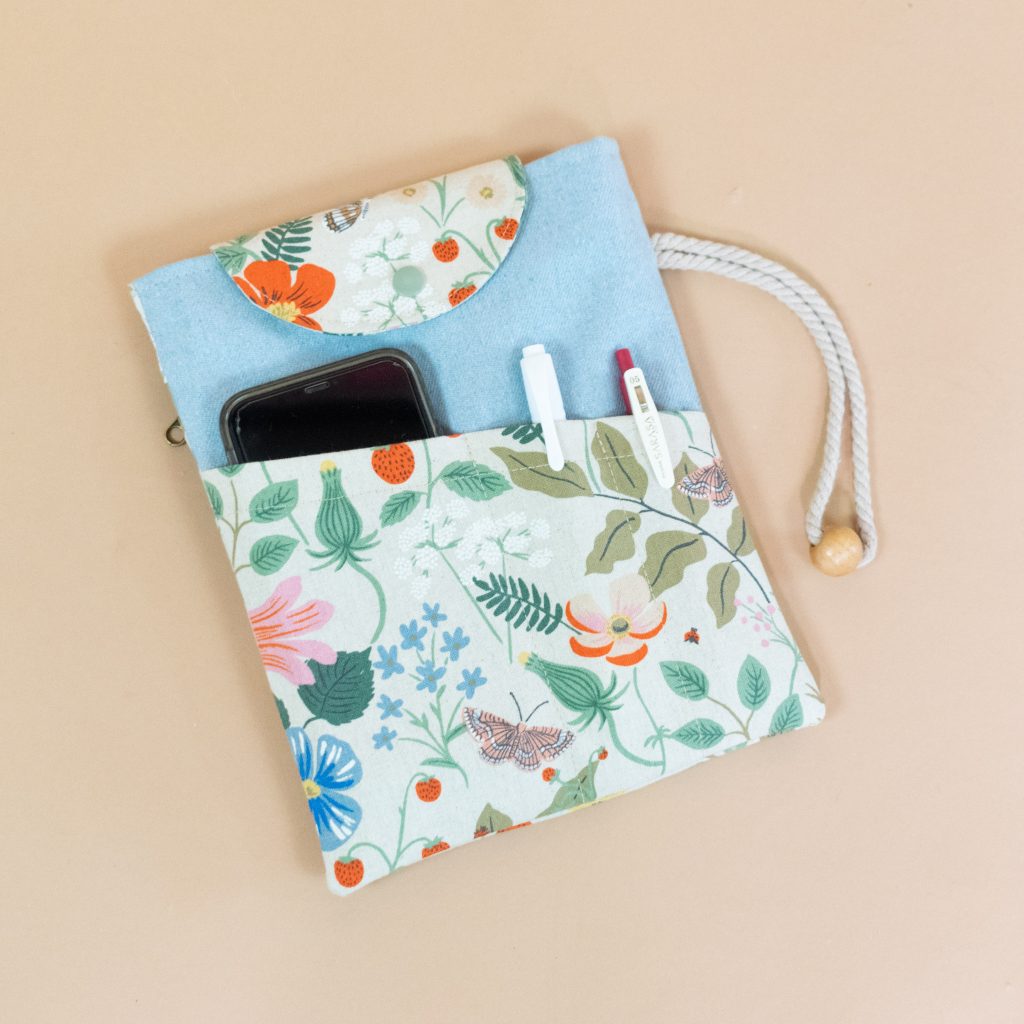
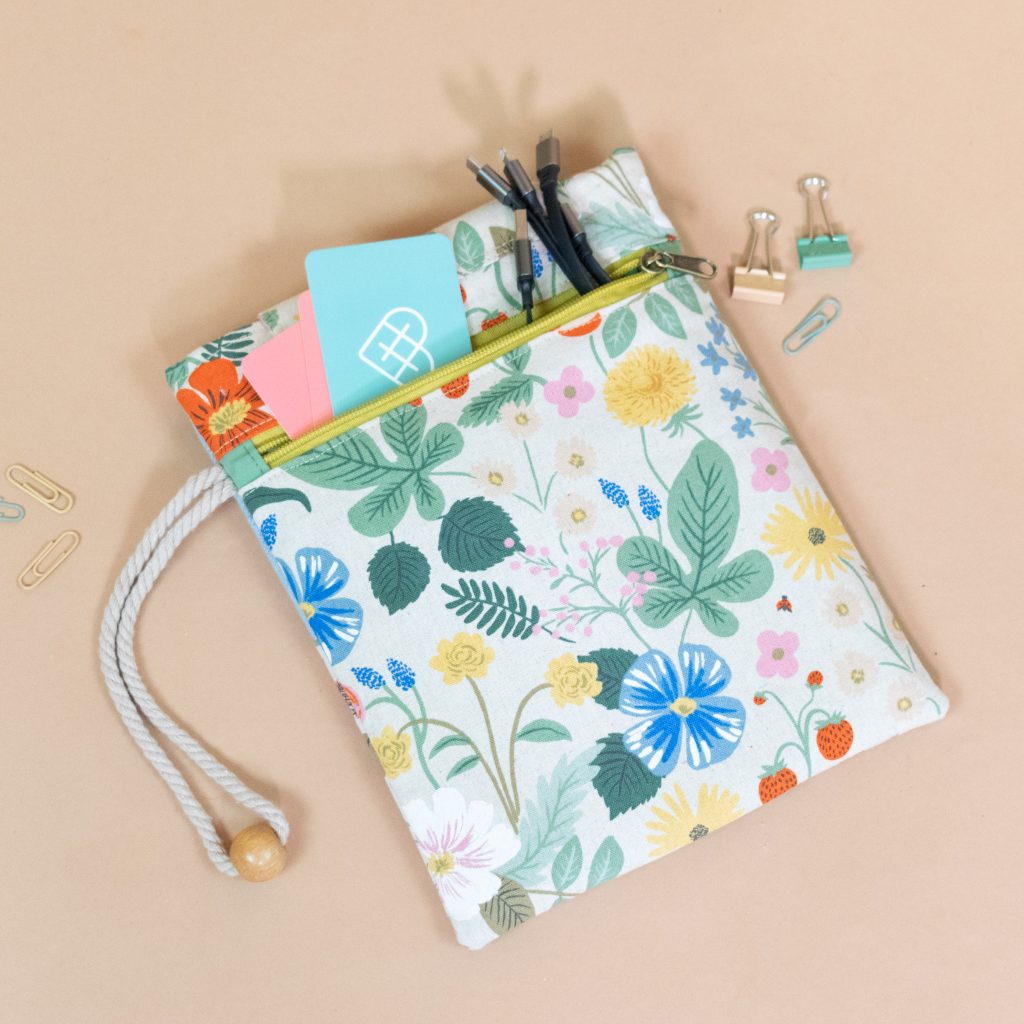
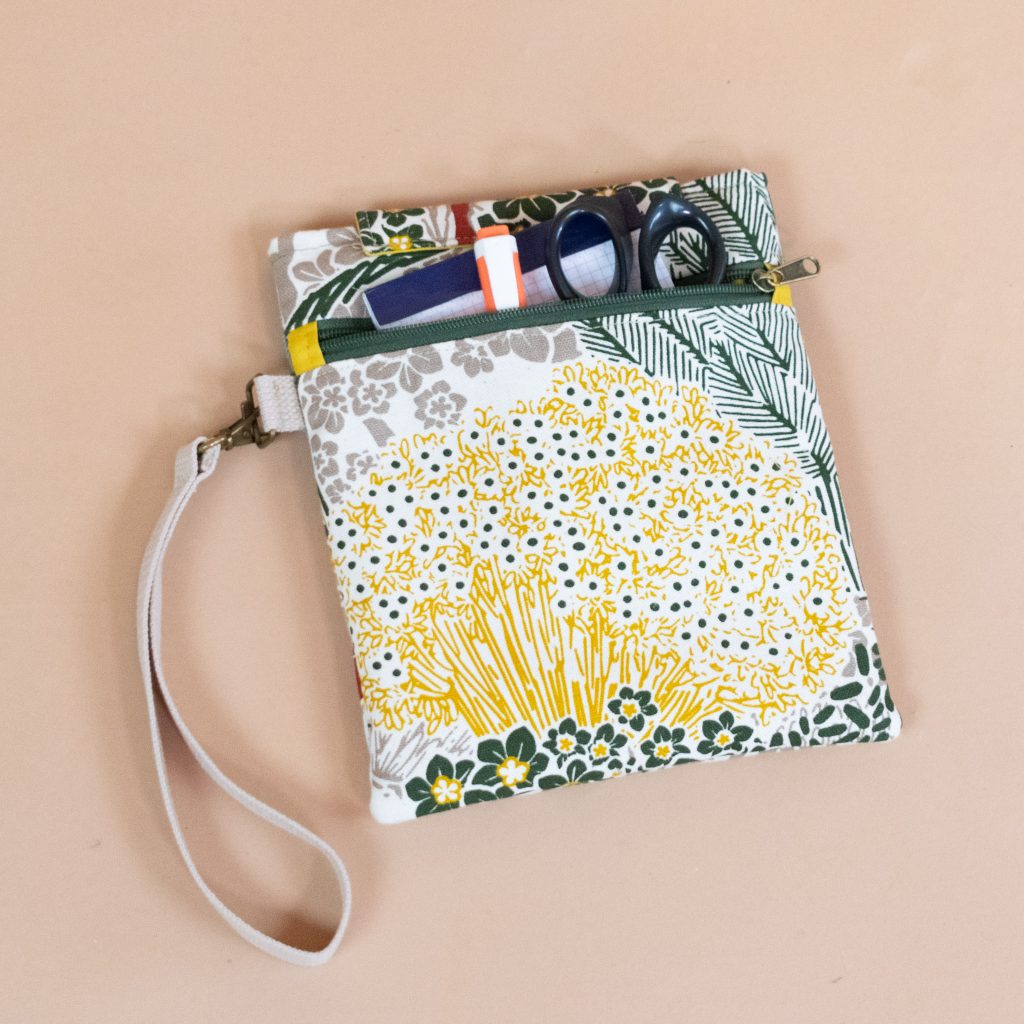
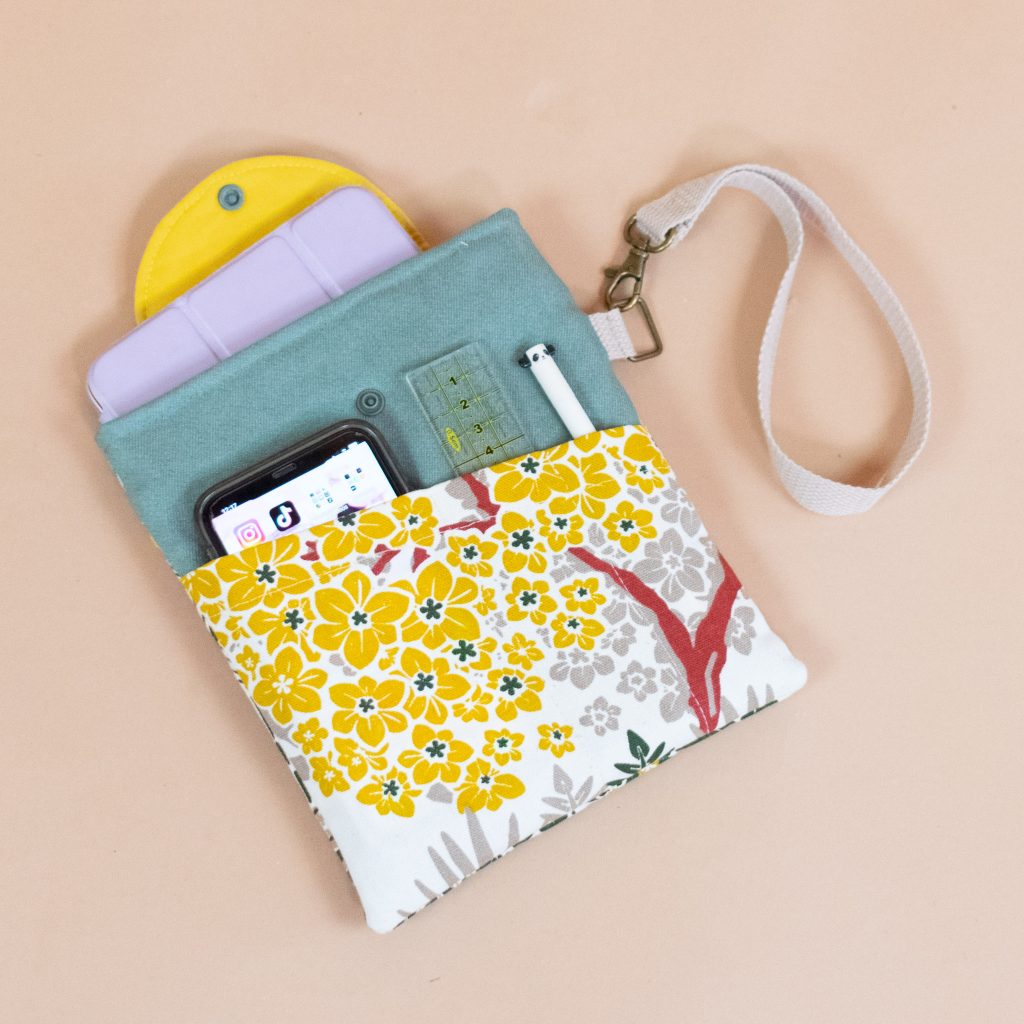
Its main compartment is paired with a divided front pocket for frequently used items and a zippered back pocket for keys, cables, cards or other small belongings.
A curved flap closes over the contents, while an optional handle makes the organizer easy to carry. The finished cover measures approximately 20 cm wide by 24 cm high.
What you’ll learn in this class
- Sew and topstitch a shaped flap with smooth curves.
- Create custom divisions in the angled front pocket.
- Add fabric zipper stops and sew the zippered back pocket.
- Apply interfacing or batting while reducing bulk at the edges.
- Assemble the outer cover and lining and finish the turning opening.
- Position the closure around the item the organizer will hold.
Fabric and structure
The samples combine canvas and denim outside with a poplin lining. Use one outer fabric throughout or mix smaller pieces for contrast.
Interfacing creates a flatter, firmer result, while batting adds loft. The instructor recommends testing your fabrics and reinforcement together before starting the full project.
Make it your own
Divide the front pocket around what you carry, with spaces for a phone and pens or fewer, wider compartments.
Add a cord handle, a removable webbing handle with a swivel hook, or a longer strap. Place the attachment on either side and close the flap with a snap or hook-and-loop tape.
The pattern can be extended upward or sideways for another item. If you increase the width, the back-pocket zipper must also be long enough for the revised piece.
Finished size
The finished organizer measures approximately 20 cm wide and 24 cm high. Position the closure around the item you plan to carry so its thickness is taken into account.
The beginner-friendly class includes one step-by-step video and an A4 printable pattern with the organizer pieces, finished dimensions and materials reference.
Pattern & materials
Patterns are included with membership
Active members can download every available PDF and materials list.
Project gallery