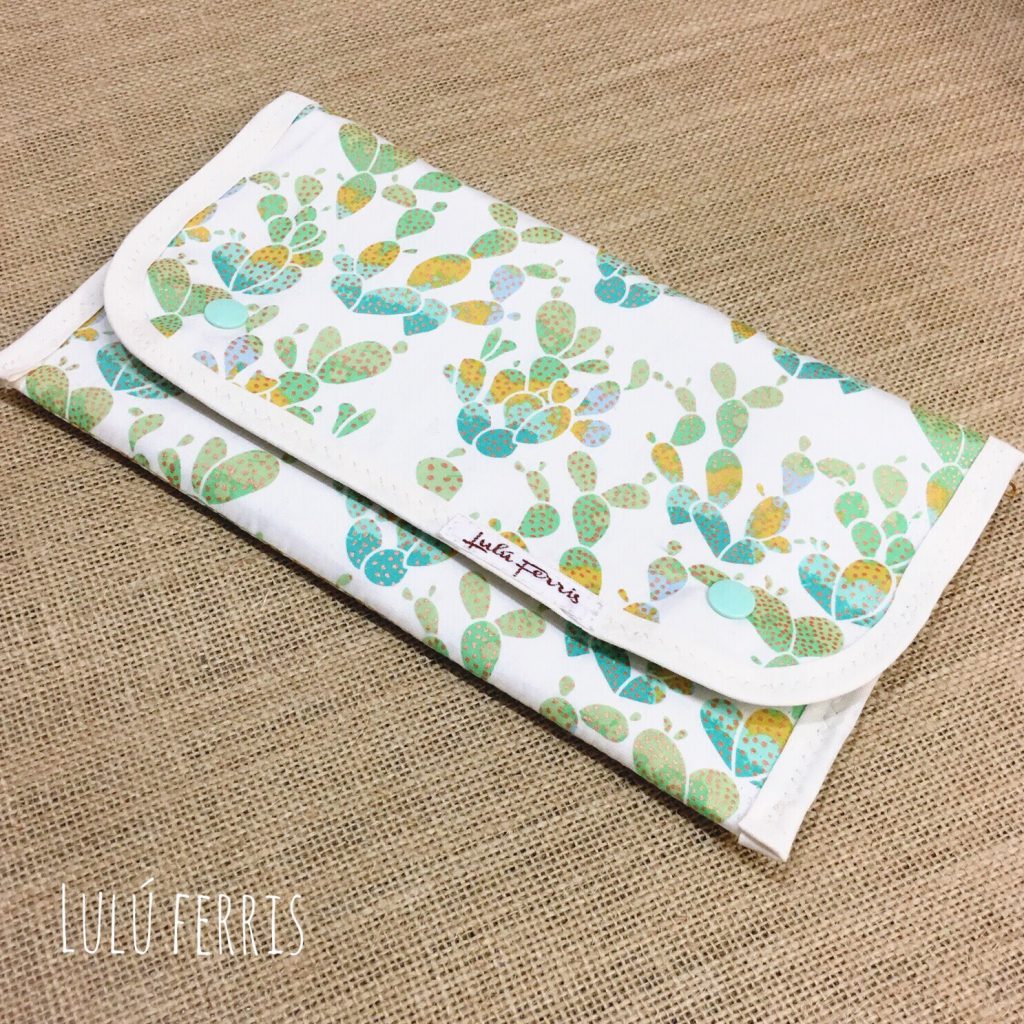
Travel Document Holder
In this tutorial, we’ll show you how to make a beautiful and super-practical travel document holder. Don’t risk letting disorganization ruin your trip!

Video class
This video is for members
Join Lulu Ferris to watch the complete class and sew along at your own pace.
What you’ll make
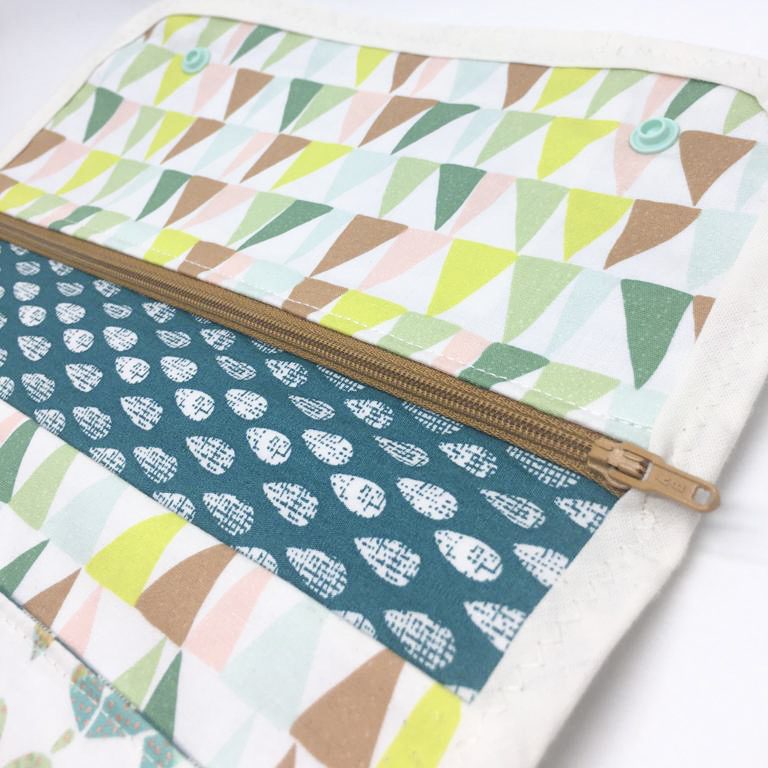
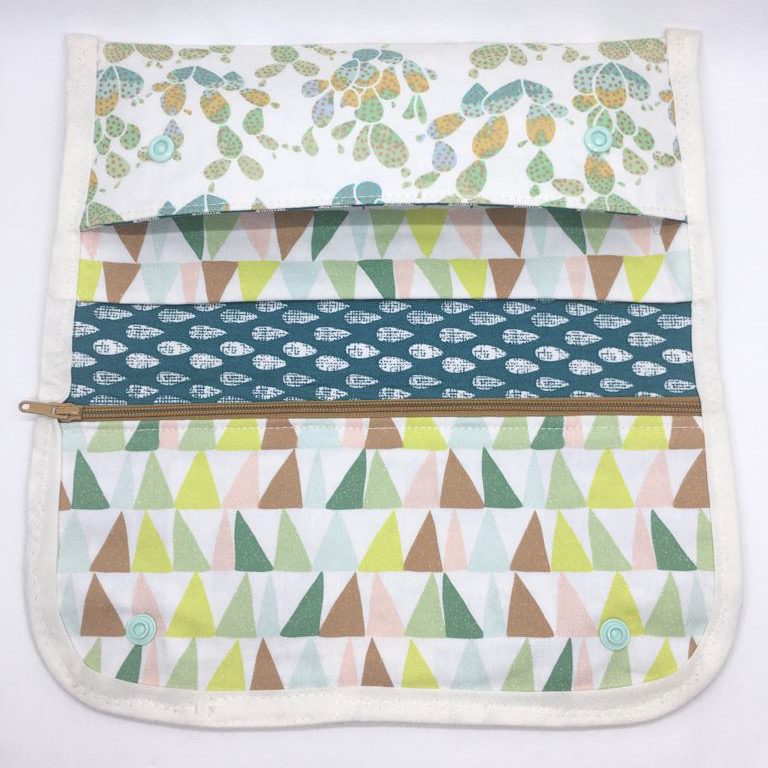
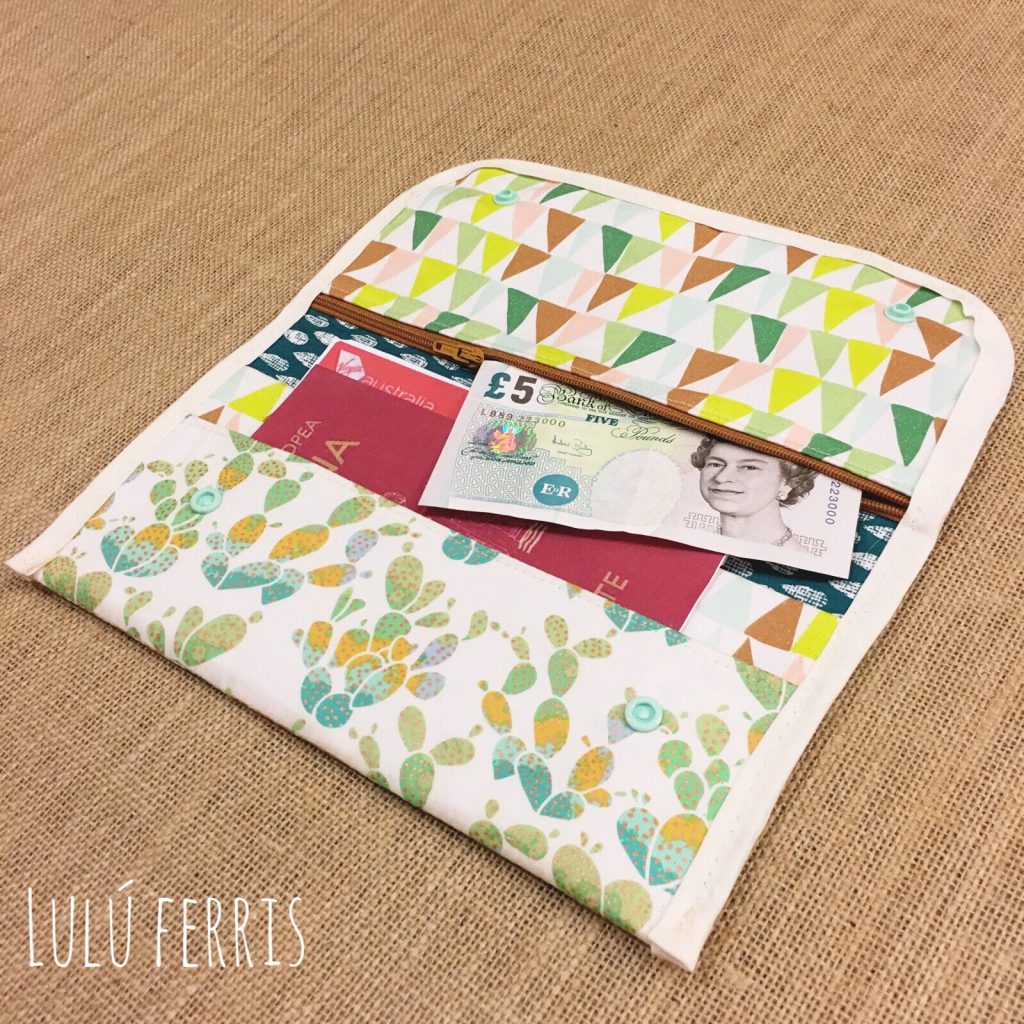
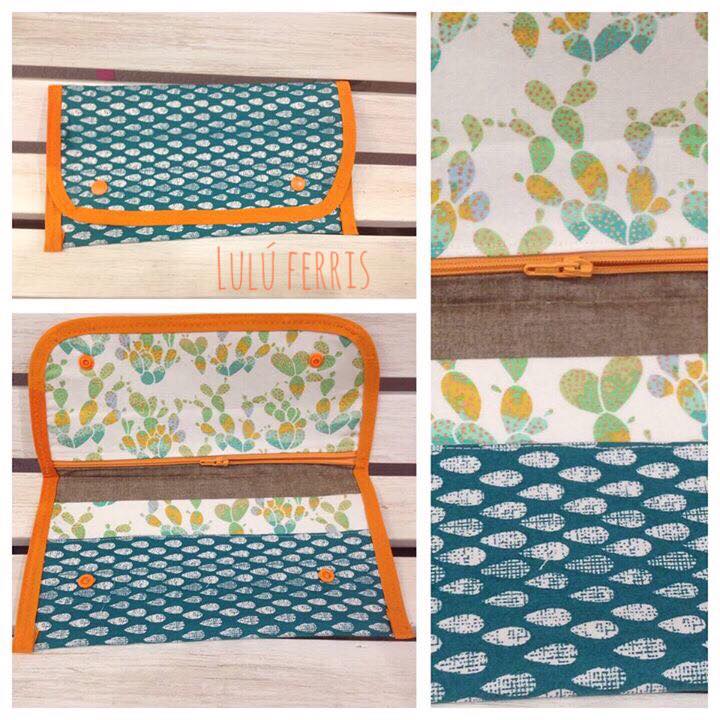
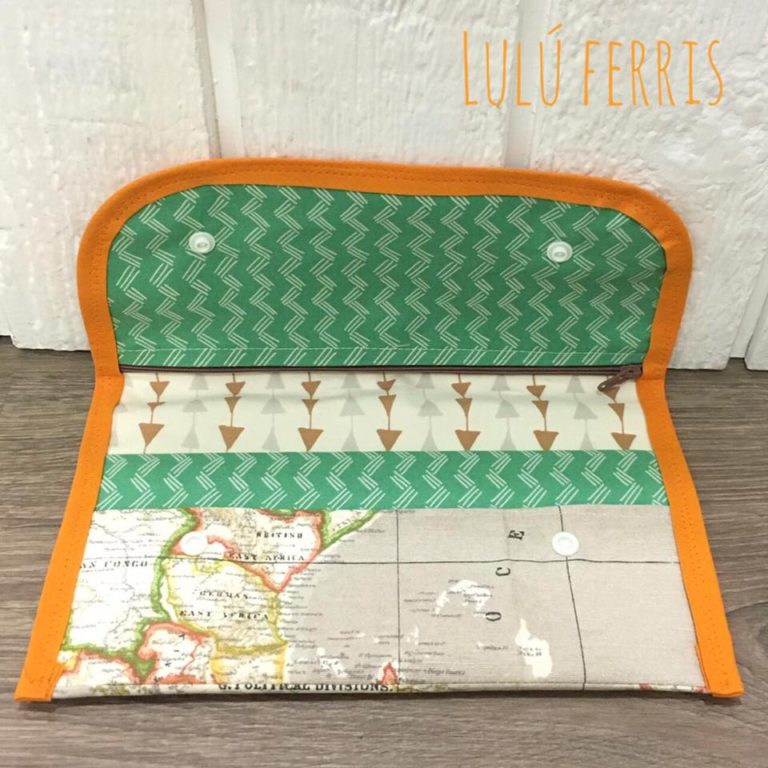
Sew a folding travel document holder with space for a passport, boarding passes, money and other papers. A zippered pocket and separate slip pocket organize the interior.
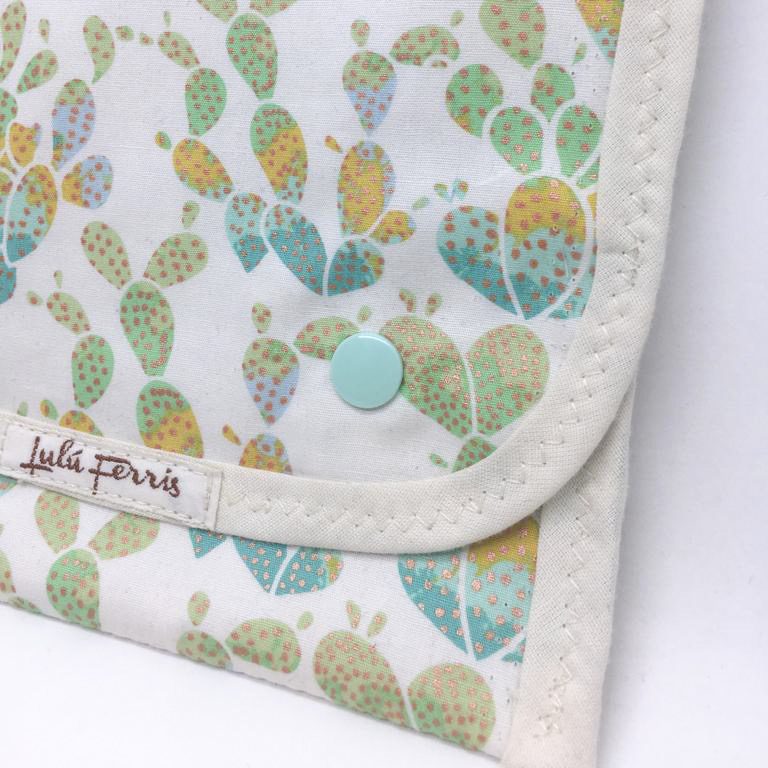
Interfacing adds body, while rounded corners and bias binding finish the outer edge. Snaps or hook-and-loop tape keep the holder closed.
What you’ll learn in this class
- Fuse interfacing to lightweight fabrics.
- Plan directional prints for the folded layout.
- Install and topstitch a zipper with a zipper foot.
- Arrange the interior pocket layers.
- Round and bind a layered outer edge.
- Add snaps or a hook-and-loop closure.
If you are new to sewing, begin with sewing machine basics before working on the zipper and binding.
Fabric and supplies
Choose exterior and lining fabrics with fusible interfacing. The organizer also uses a zipper, bias tape and either snaps or hook-and-loop tape.
Make it your own
- Use one print or piece a directional exterior fabric.
- Choose light or medium-weight interfacing.
- Move the closure higher to allow for bulkier contents.
Verified measurements
The PDF specifies a 25 × 35 cm base, a 25 × 13 cm zipper-pocket piece and a 25 × 22 cm interior-pocket piece. The zipper should be at least 25 cm long.
The video includes a downloadable PDF with cutting measurements and a material list.
Pattern & materials
Patterns are included with membership
Active members can download every available PDF and materials list.
Project gallery