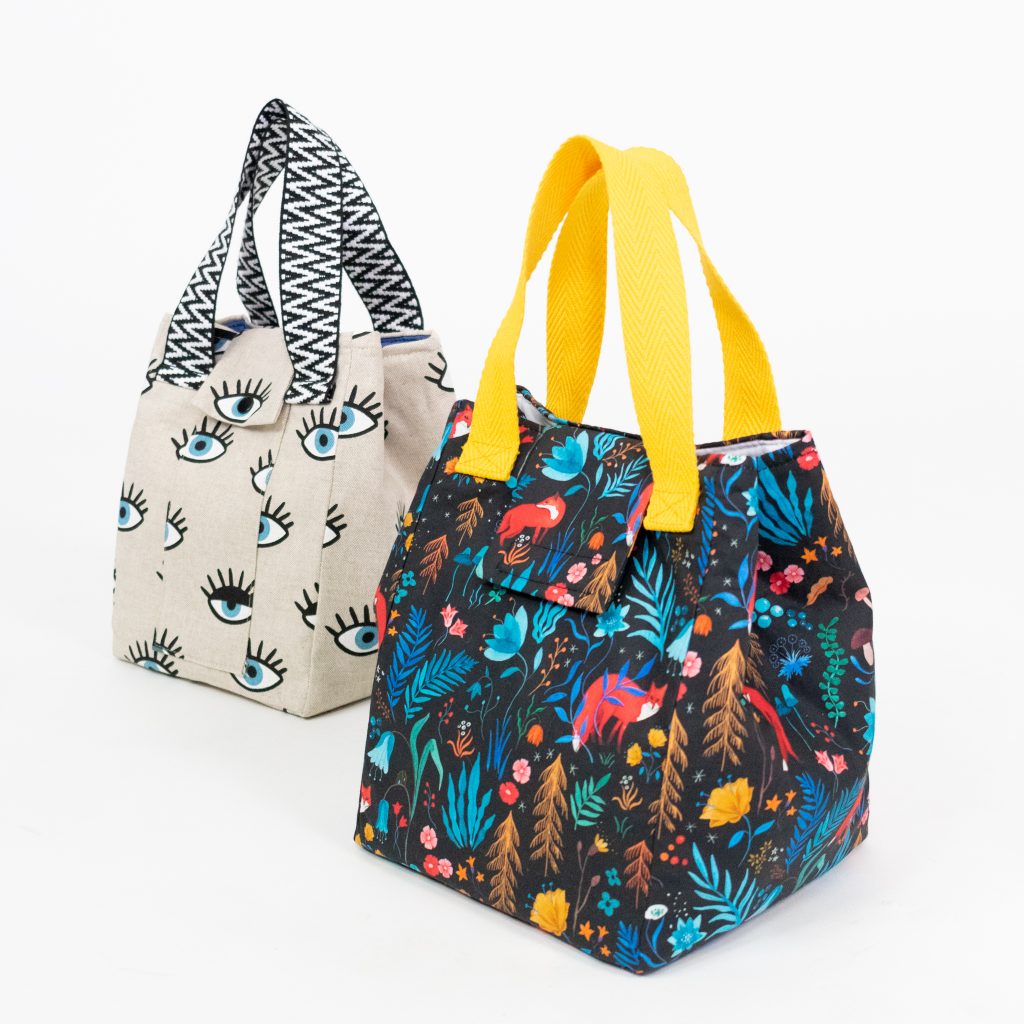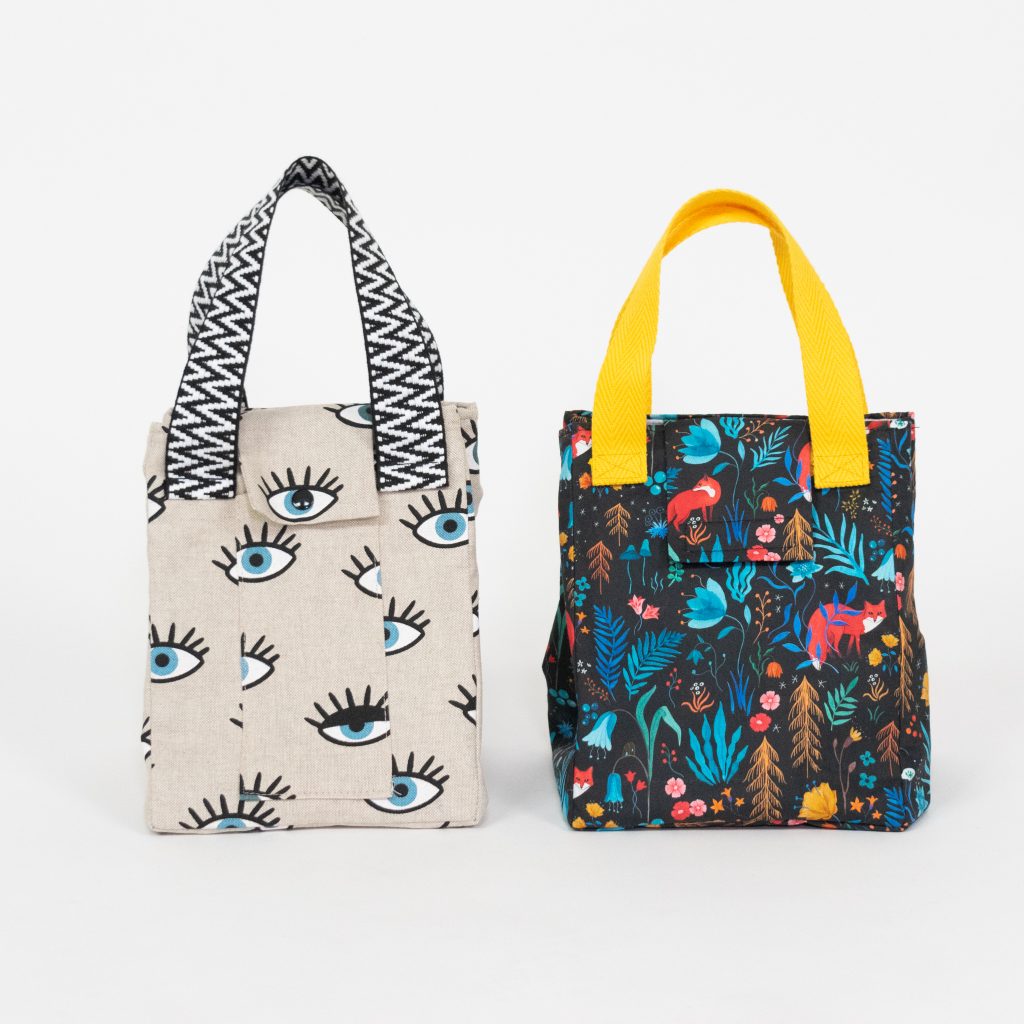
Bergen Insulated Bag
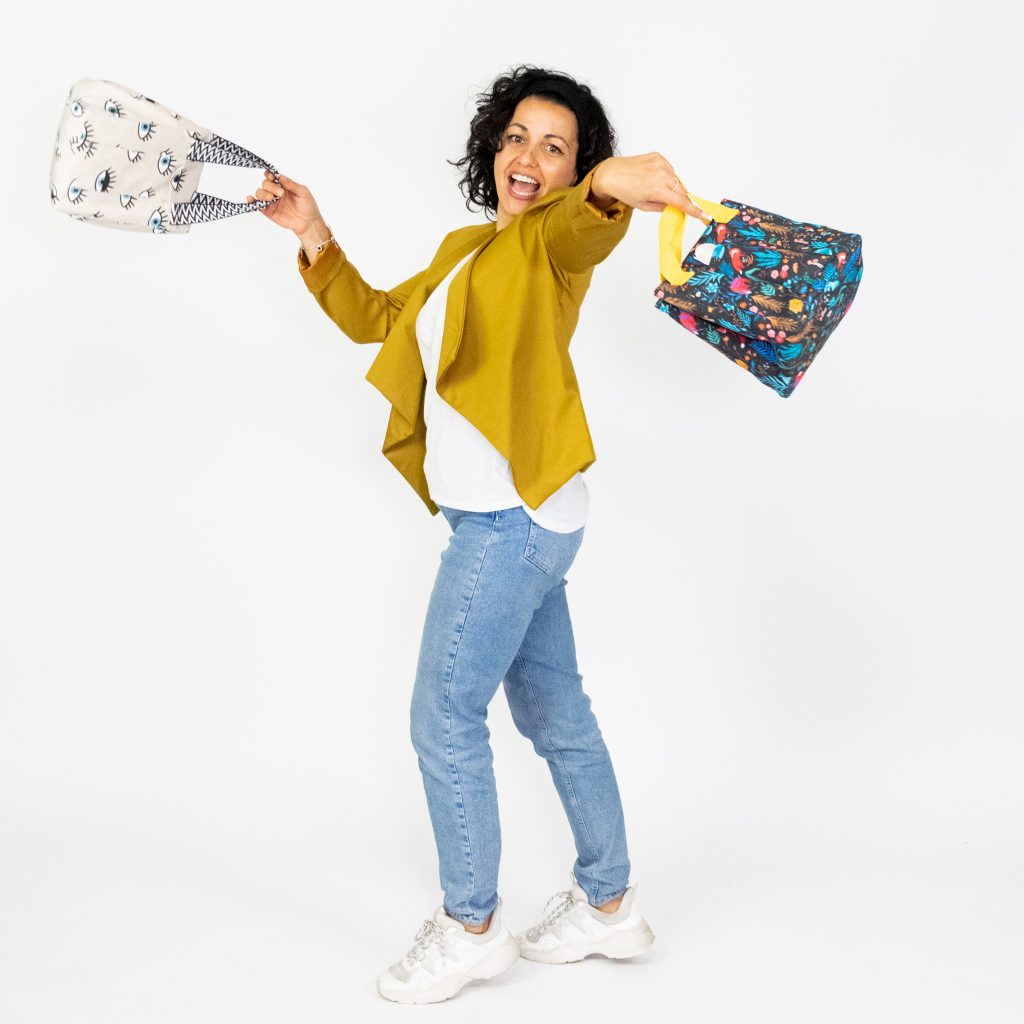
In this tutorial, we’ll sew a practical insulated bag with handles and a cutlery pocket. It’s very easy to make.
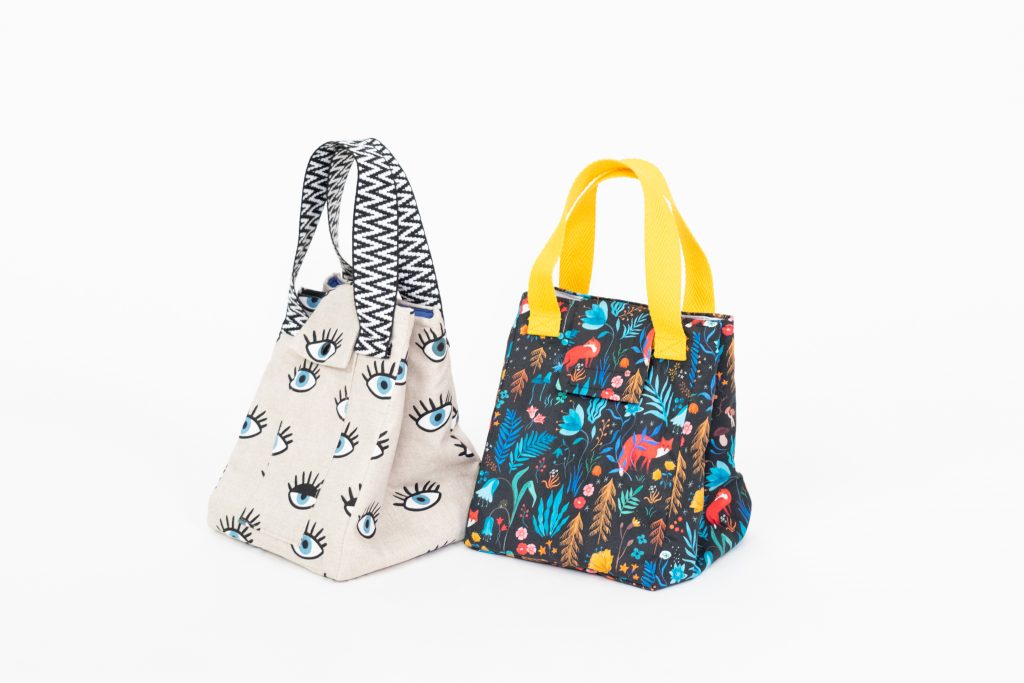
Project preview
This video is for members
Join Lulu Ferris to watch the complete class and sew along at your own pace.
What you’ll make
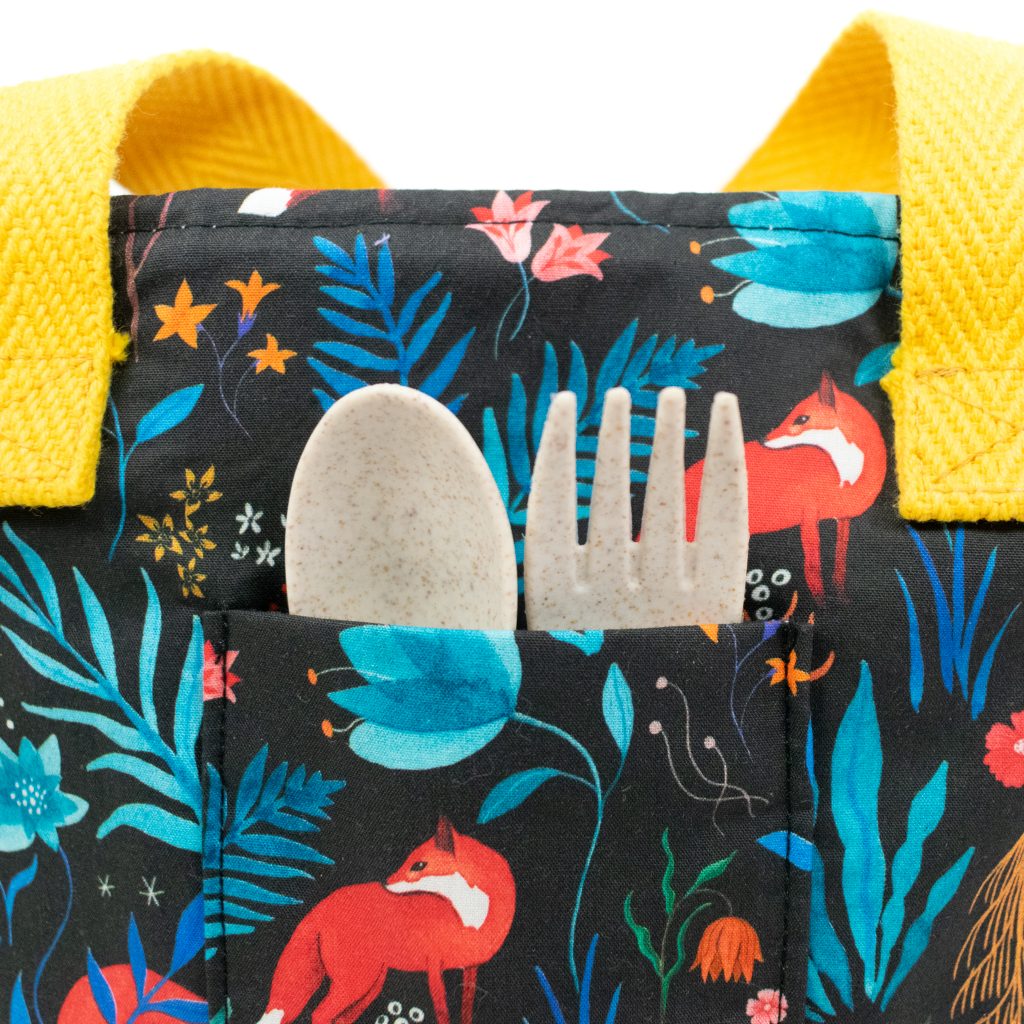
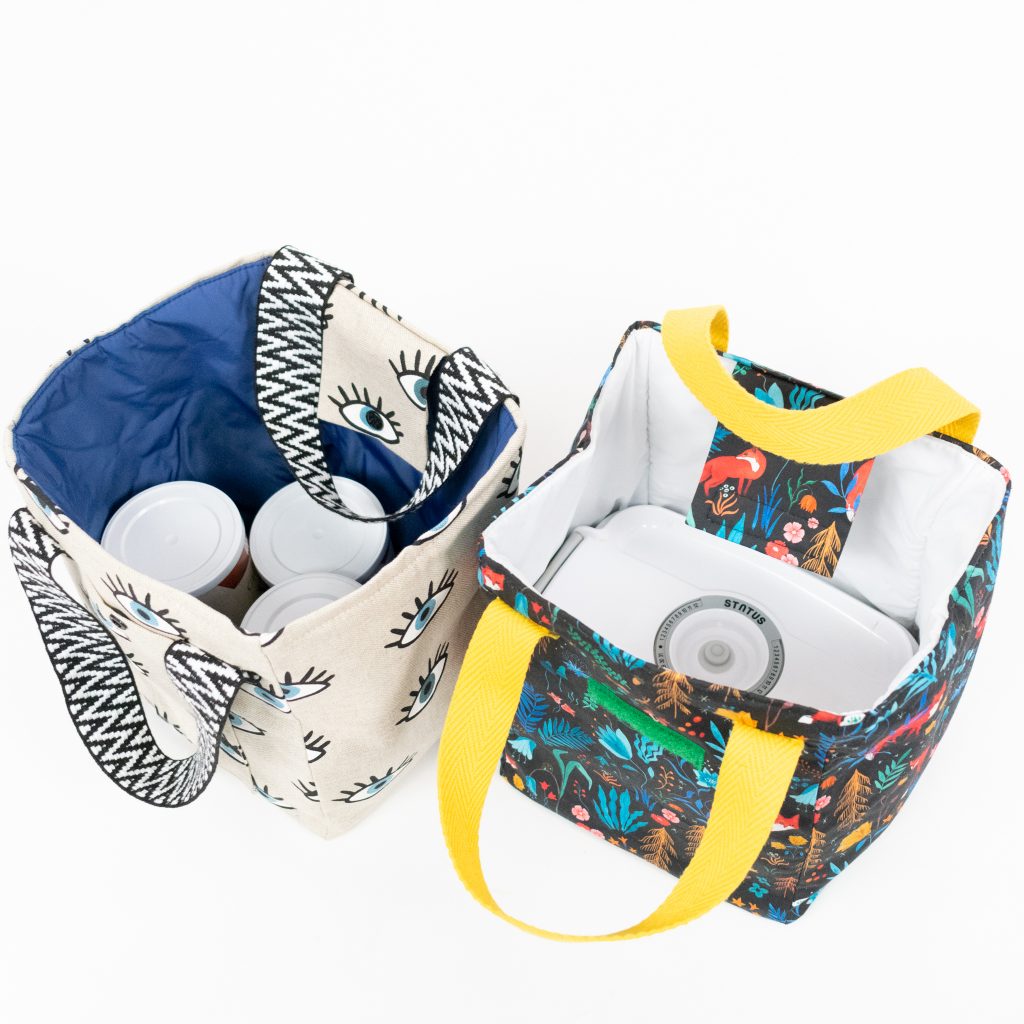
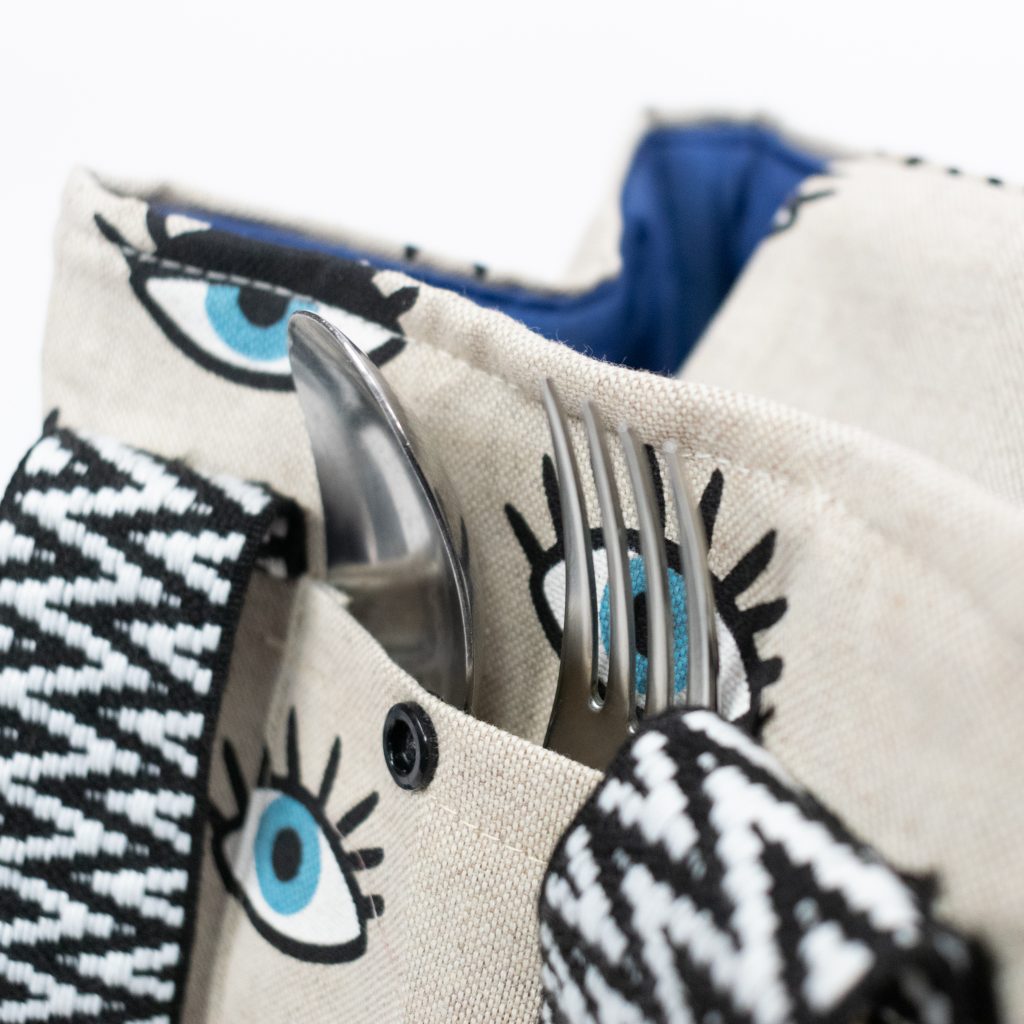
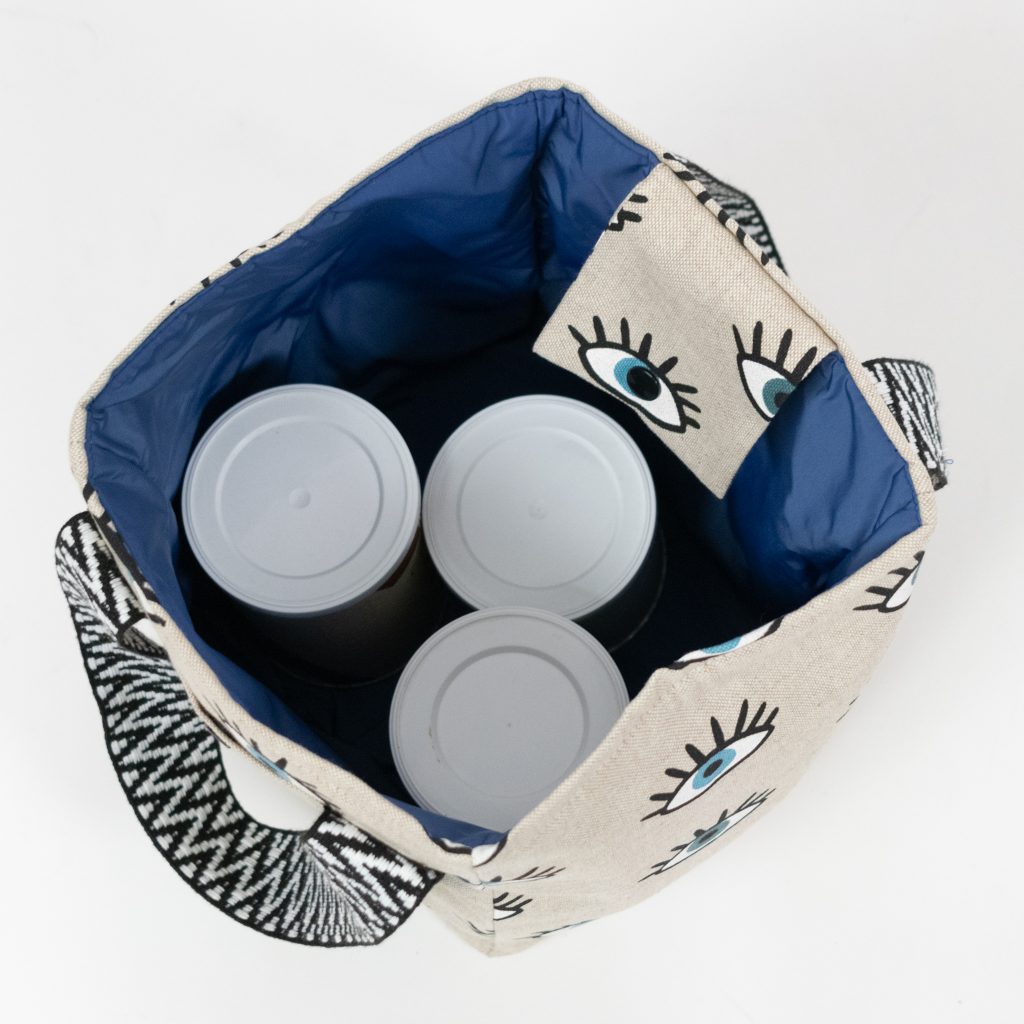
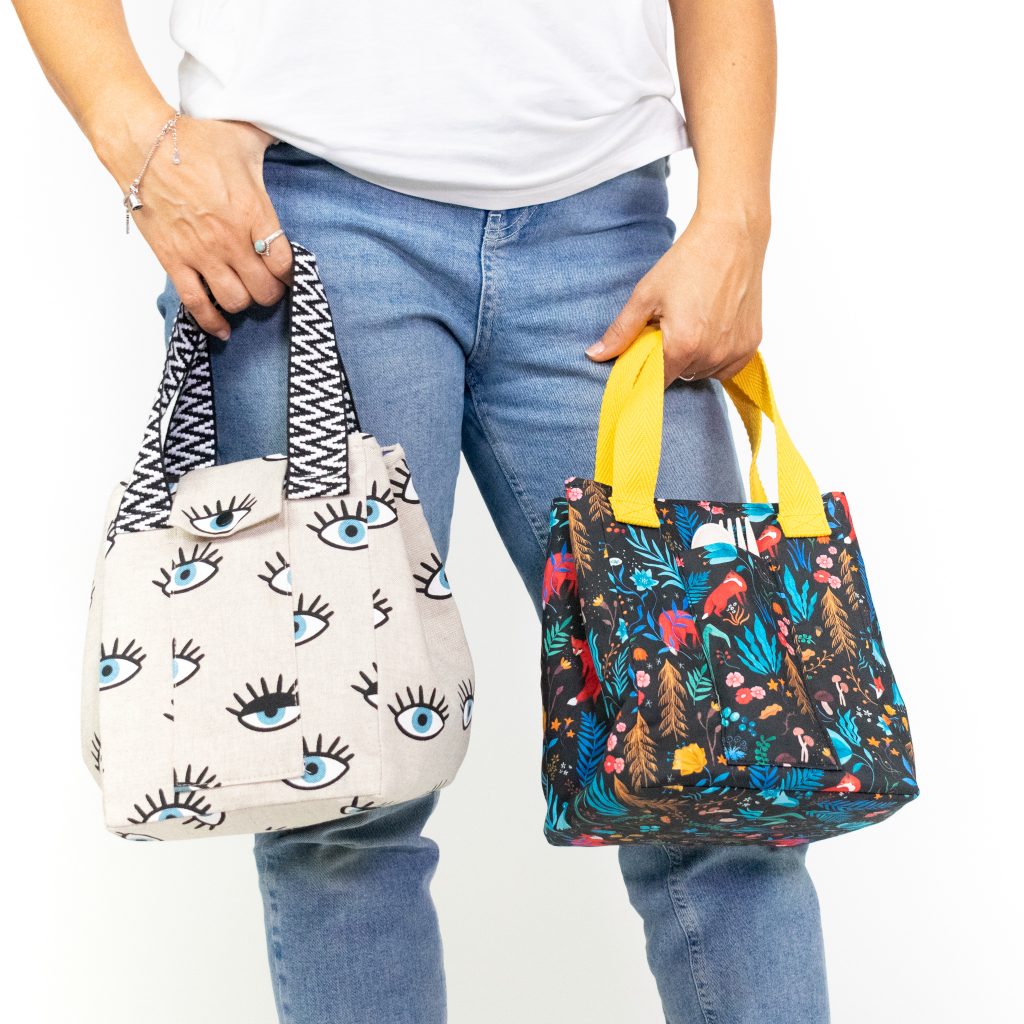
Sew a compact insulated lunch bag with webbing handles, a wipe-clean lining, and thermal batting. Its roomy box shape holds food containers, while an exterior pocket keeps cutlery close at hand.
What you’ll learn in this class
- Layer waterproof lining fabric with thermal batting.
- Reinforce a lightweight exterior fabric with interfacing when needed.
- Sew and position the exterior pocket, flap, and handles.
- Build the box-shaped exterior and lining from front and side panels.
- Turn the bag through an opening and finish the top edge neatly.
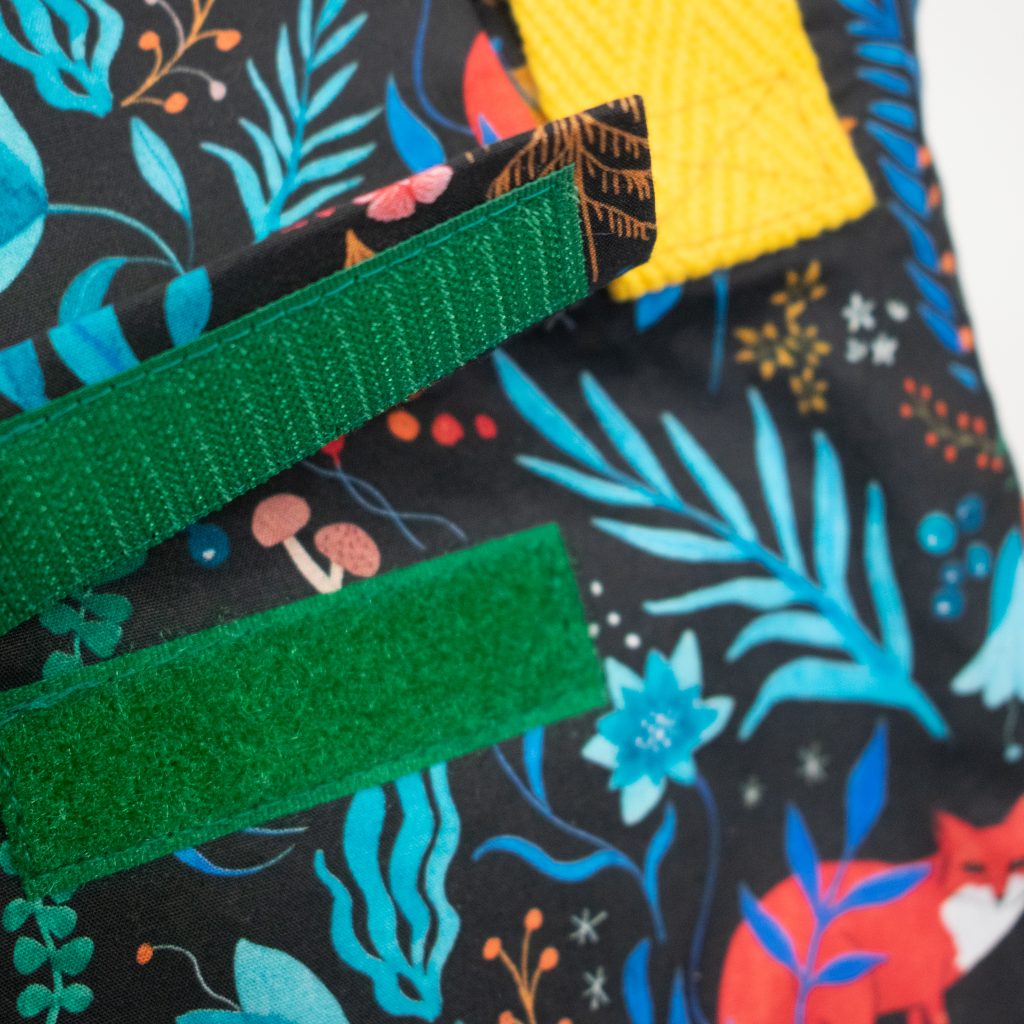
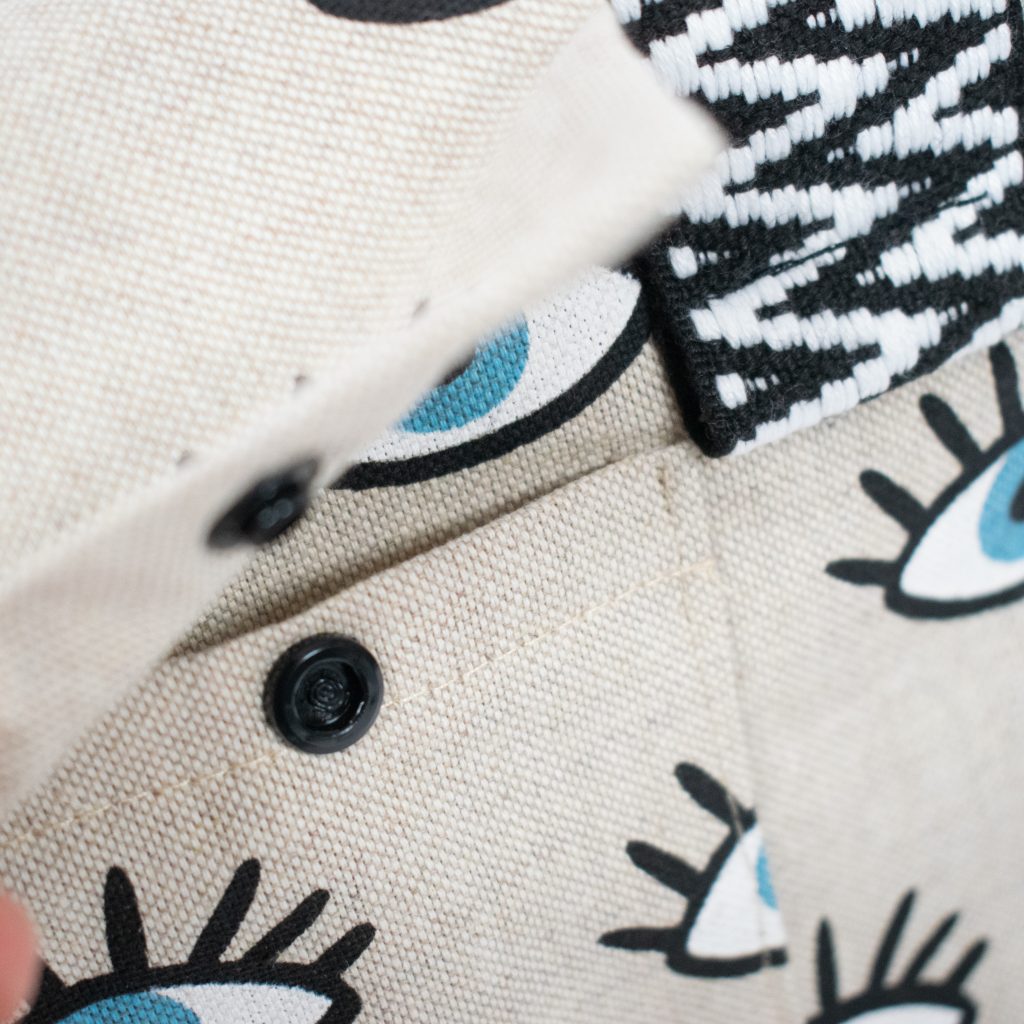
- Install a snap or sew on hook-and-loop tape.
Fabric and supplies
Use canvas for a structured exterior, or add lightweight interfacing to poplin. The sample combines a waterproof lining with thermal insulating batting and backpack webbing for the handles.
Make it your own
Place the cutlery pocket on the front beneath the flap or move it to the back. Finish the flap with either a snap or hook-and-loop tape.
Explore related formats with the cooler backpack, portable cooler, bottle carrier, or thermal crossbody bag.
Finished size
The finished Bergen bag measures approximately 23 cm high × 18 cm wide × 18 cm deep.
The video class includes a downloadable PDF with the cutting dimensions and material guidance for the Bergen bag.
Pattern & materials
Patterns are included with membership
Active members can download every available PDF and materials list.
Project gallery